Set up the client portal
Turn on the client portal, choose its address, set the portal options and give clients access so they can sign in and see their documents.
The client portal is a private website where your clients sign in with their email address and see the invoices, offers, payments and contracts you have issued to them. This article shows you how to switch it on, pick its address and let your first clients in.
New companies start with the portal Disabled. Nothing is visible to clients until you change that.
Turn the portal on
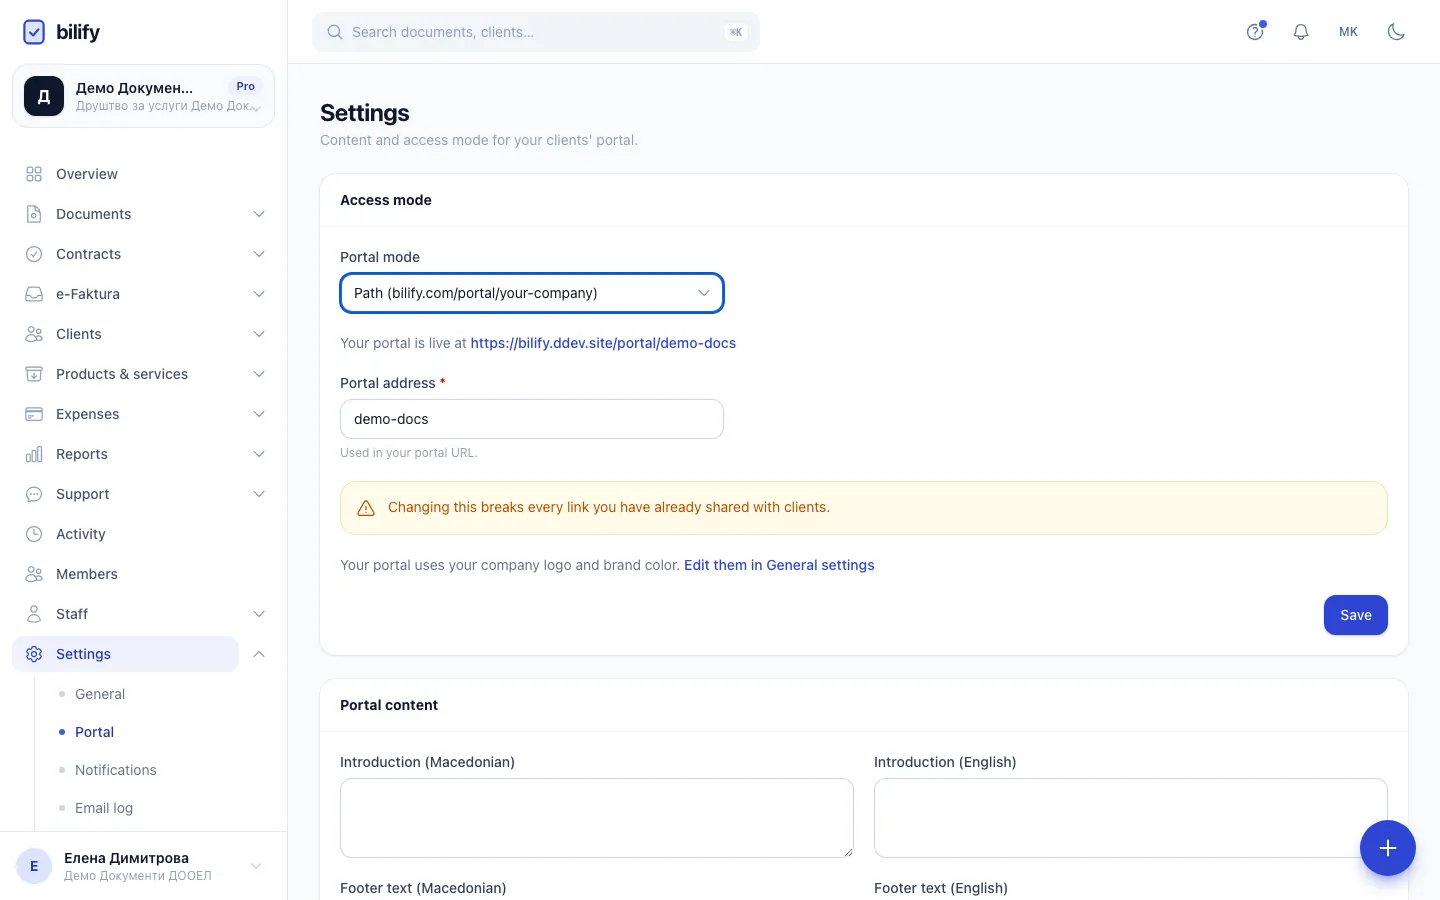
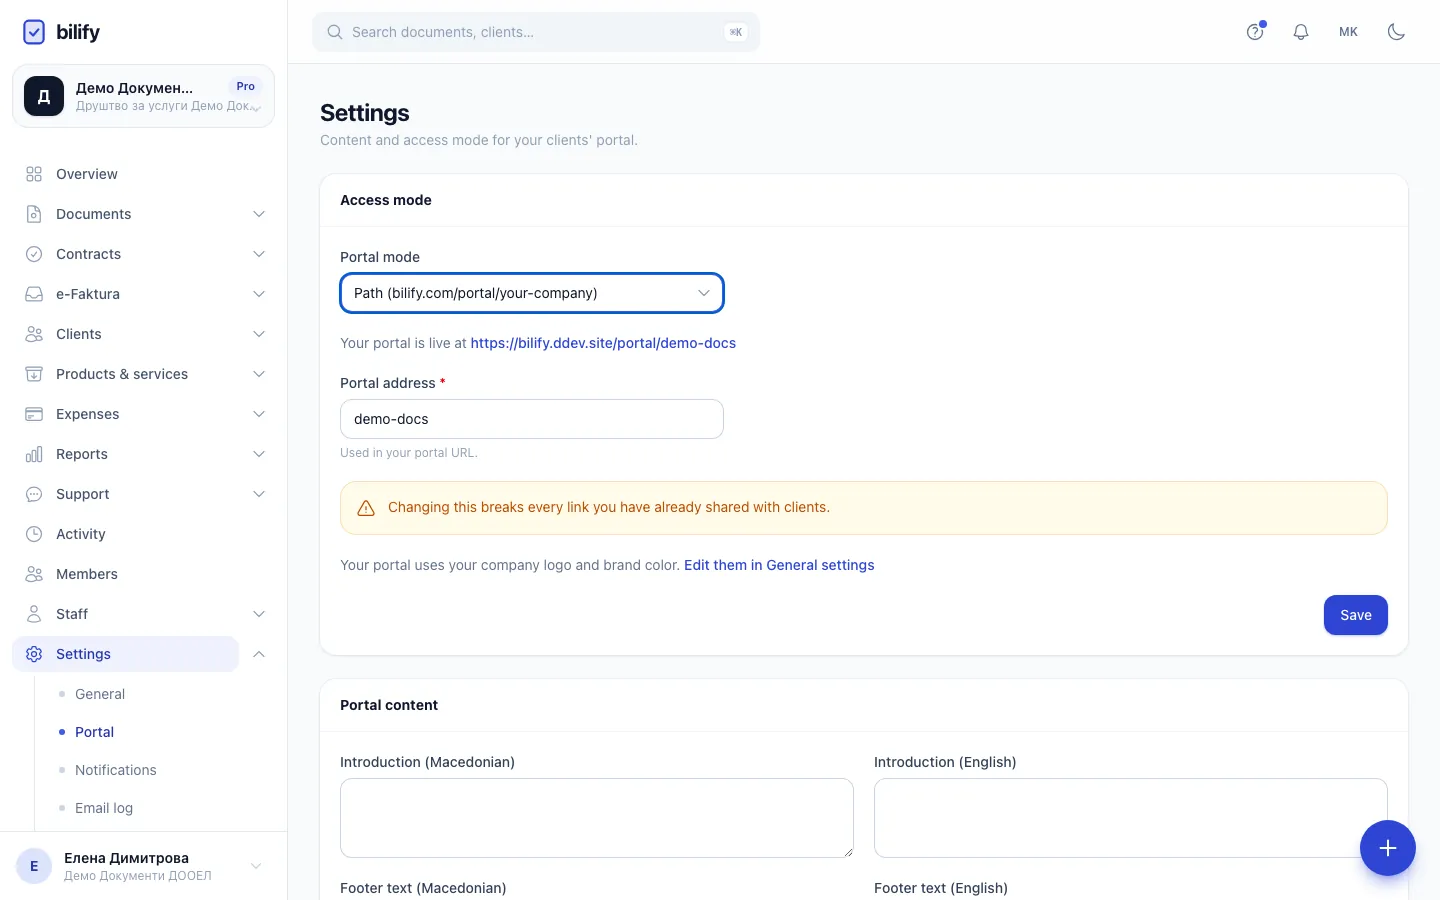
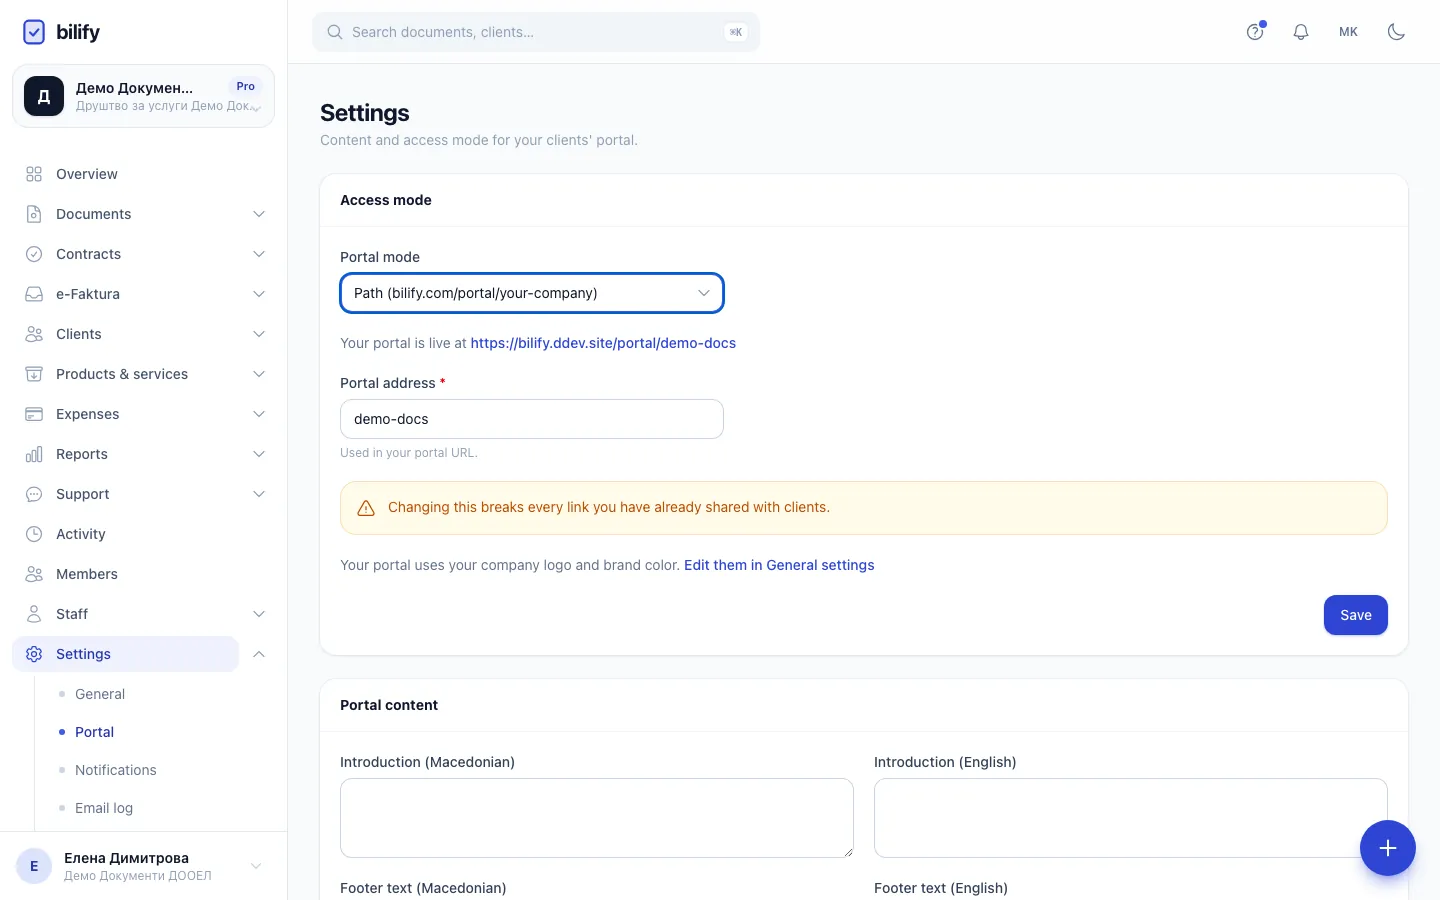
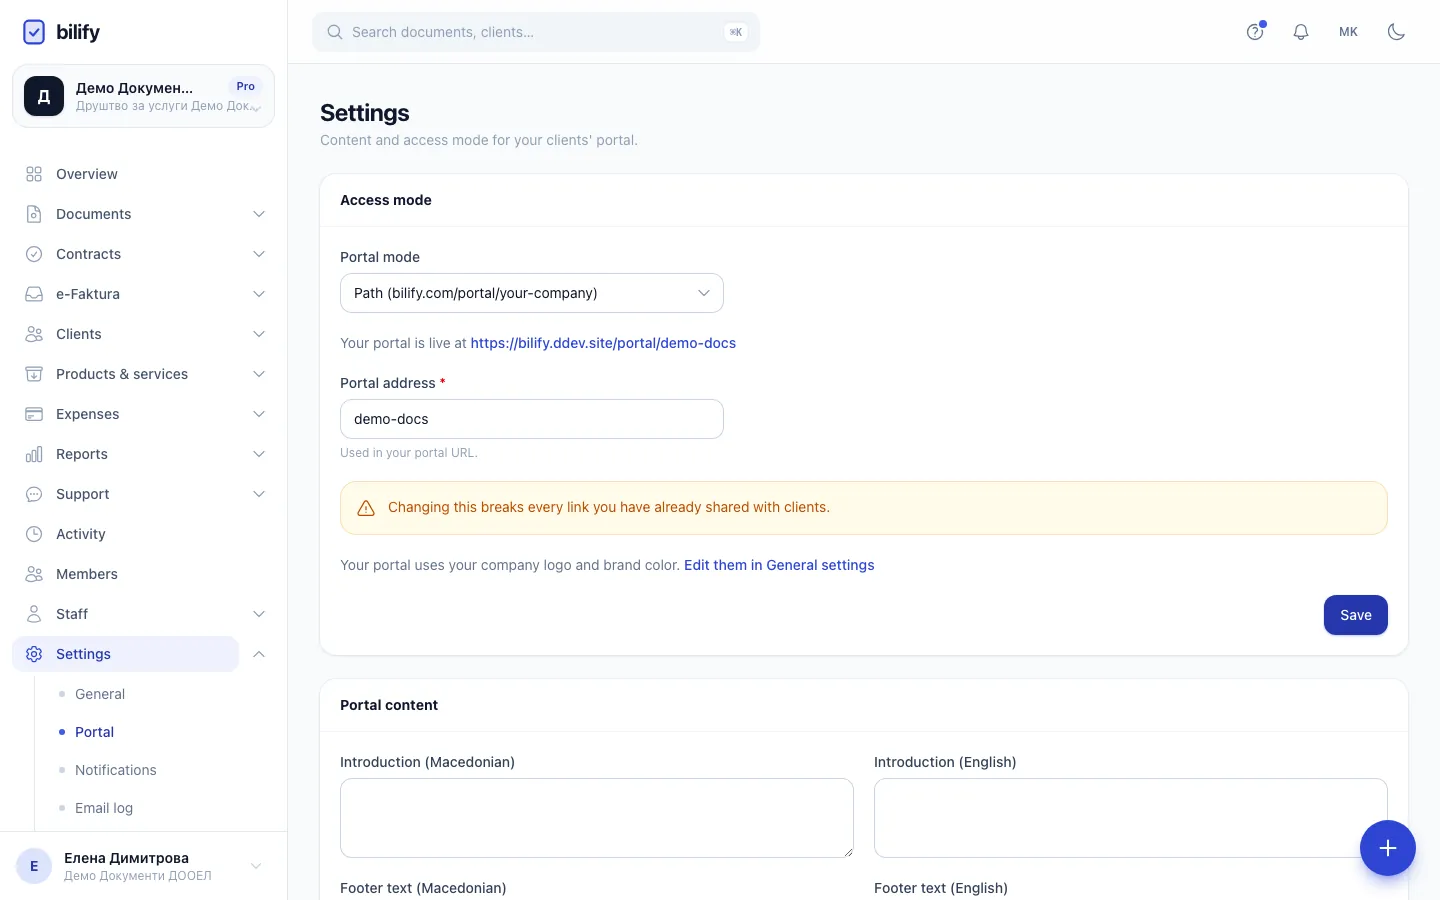
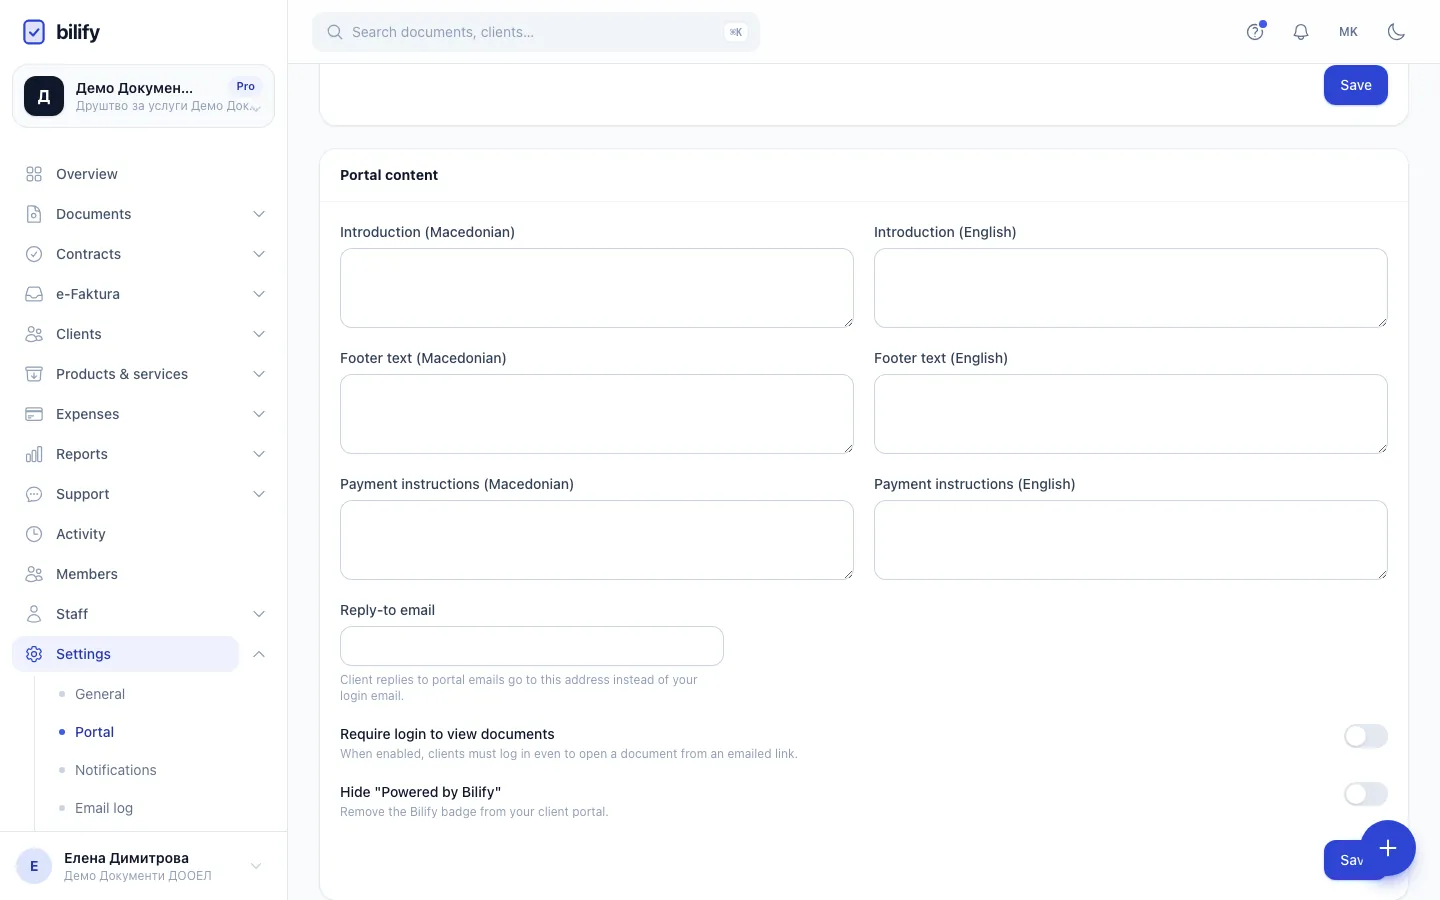
- Step 1: Choose Path as the portal mode. It works on every package and needs no DNS setup.
- Step 2: The portal address is the last part of the URL. Set it once, because changing it breaks links you already sent.
- Step 3: Save the access mode. The portal goes live straight away.
- Step 4: This is the live portal address. Open it to see what your clients see.
- Step 5: Under Portal content, set a reply-to address and decide whether emailed links need a login.
- Open Settings > Portal.
- In the Access mode card, open Portal mode and choose how the portal is reached (see the table below). Path works on every package and needs no setup.
- Check Portal address. This is the part of the URL that identifies your company. Bilify fills it in from your company name when you register.
- Click Save in the same card.
- The card now shows Your portal is live at followed by the address. Click it to open the portal in a new tab.
Changing the portal address breaks old links
Every link you have already sent (invoice emails, sign-in links, bookmarks) contains the current address. If you change Portal address or Portal mode later, those links stop working. Pick the address once, before you start sending documents.
Portal modes
| Mode | Address your clients use | Package |
|---|---|---|
| Disabled | No portal. Invoice emails are sent without a View invoice button. | All |
| Path | The Bilify address followed by /portal/your-address |
All |
| Subdomain | your-address. followed by the Bilify domain |
Business and higher |
| Your own domain | A domain you own, for example portal.yourcompany.mk |
Pro and Enterprise |
Modes your package does not include are listed with (upgrade required) and cannot be selected. Your own domain can be saved only once your custom domain has the status Active; before that, saving shows an error and the mode stays as it was. If that domain is later removed, disabled or fails verification, Bilify moves the portal automatically to Subdomain (when your package includes it) or to Path. See Use a subdomain and Use your own domain for those two modes.
Rules for the portal address
- Up to 60 characters.
- Letters, digits, hyphens and underscores in Path mode. In Subdomain mode only lowercase letters, digits and hyphens, and it cannot start or end with a hyphen.
- It must be unique across Bilify, and a few names are reserved (for example
www,app,admin,api,mail,portal,status,docs).
Portal content options
The Portal content card has its own Save button, so you can change these without touching the access mode.
| Option | What it does |
|---|---|
| Reply-to email | When a client replies to an invoice email, a reminder or a sign-in link, the reply goes to this address. Messages sent from the portal's Message us form also go here. Leave it empty and email replies go to the address the email was sent from, while portal messages go to the company owner's login email. |
| Require login to view documents | Off: the View invoice link in your emails opens the document directly, without signing in, for 30 days. On: clients must sign in even when they click an emailed link. |
| Hide "Powered by Bilify" | Removes the Bilify badge from the portal pages. See Hide Bilify branding. |
| Introduction, Footer text, Payment instructions (Macedonian and English) | These texts are saved, but the portal does not display them yet. Put payment instructions on your payment method instead, because those are printed on every invoice. |
Branding comes from General settings
The portal shows your company logo and brand color. You edit them under Settings > General (the Edit them in General settings link on the Portal page takes you there). The same logo and color are used on your invoices and emails.
Give a client access
Turning the portal on does not let anyone in by itself. A person can sign in only when both of these are true:
- The client has Portal access switched on. Open the client, edit it, and turn on Portal access in the Billing and portal section.
- The person's email address is saved as a contact of that client. Sign-in links are only sent to contact email addresses, not to the client's general email field.
Bilify does not send an invitation email when you switch access on. Tell your client the portal address, or simply send them an invoice: invoice emails include a View invoice button and a link to the sign-in page whenever the portal is on. The full procedure is in Give a client portal access.
Test it yourself
Add your own email address as a contact on a test client with Portal access on, then open the portal address and request a sign-in link. You will see exactly what your clients see.
Turn the portal off
Set Portal mode to Disabled and click Save. The portal stops answering immediately, links in emails you already sent stop working, and new invoice emails are sent without the portal button. Your documents and client data are not affected.
Sandbox workspaces
A sandbox workspace never has a client portal and cannot use a custom domain. Set the portal up in your production workspace.
Was this page helpful?
Related articles
Still stuck?
Write to us and we will get back to you within one working day.