Create your account
Sign up, confirm your email address and choose the plan that unlocks your first company workspace, including how the free trial works.
Signing up creates two things at once: your personal account and your first company workspace. After that you confirm your email address and choose a plan, and the workspace opens.
Sign up
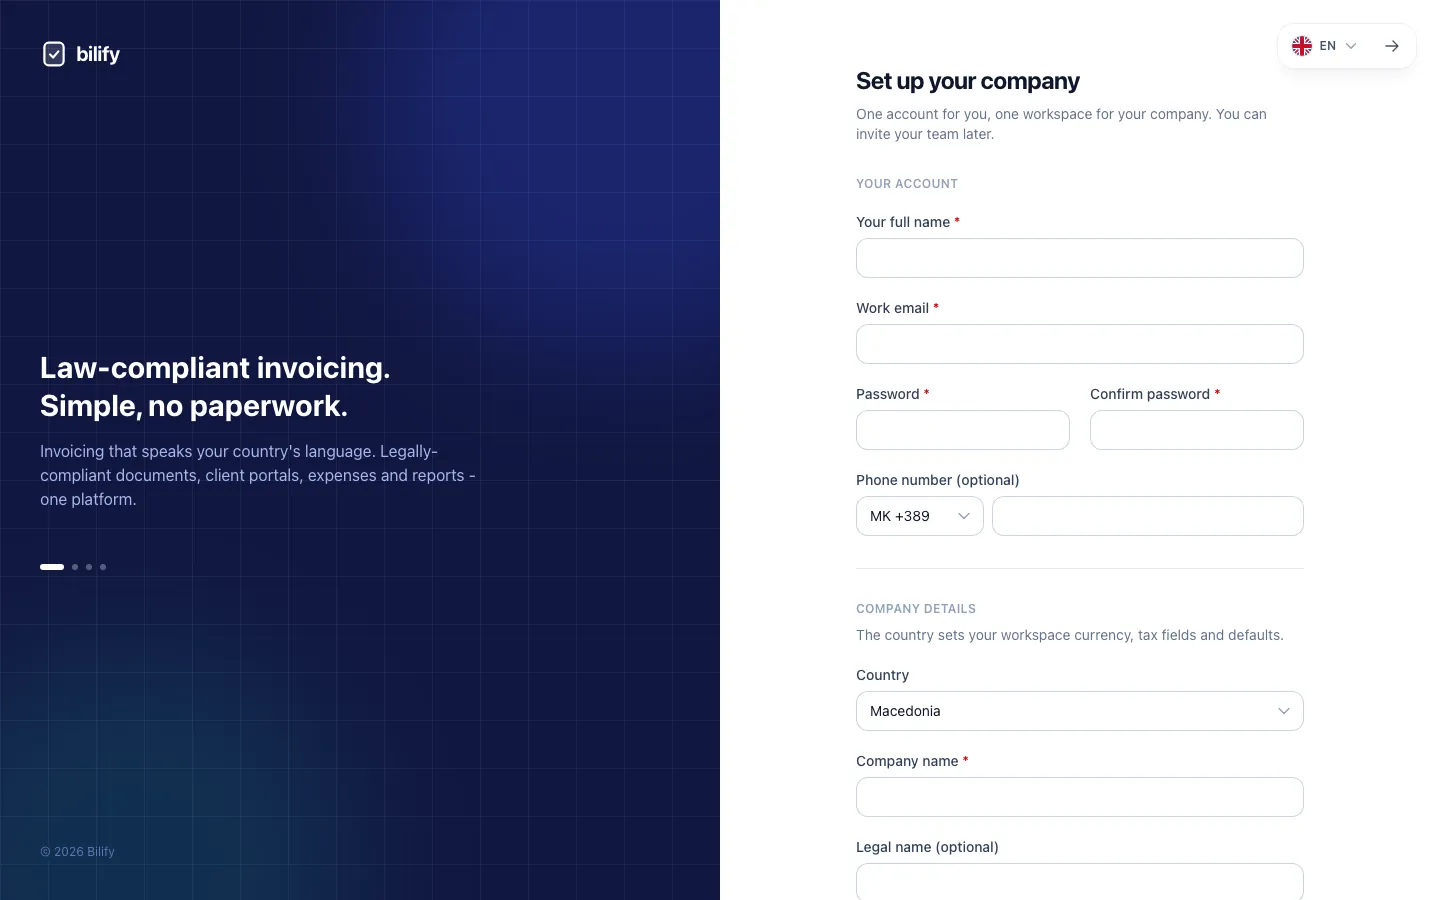
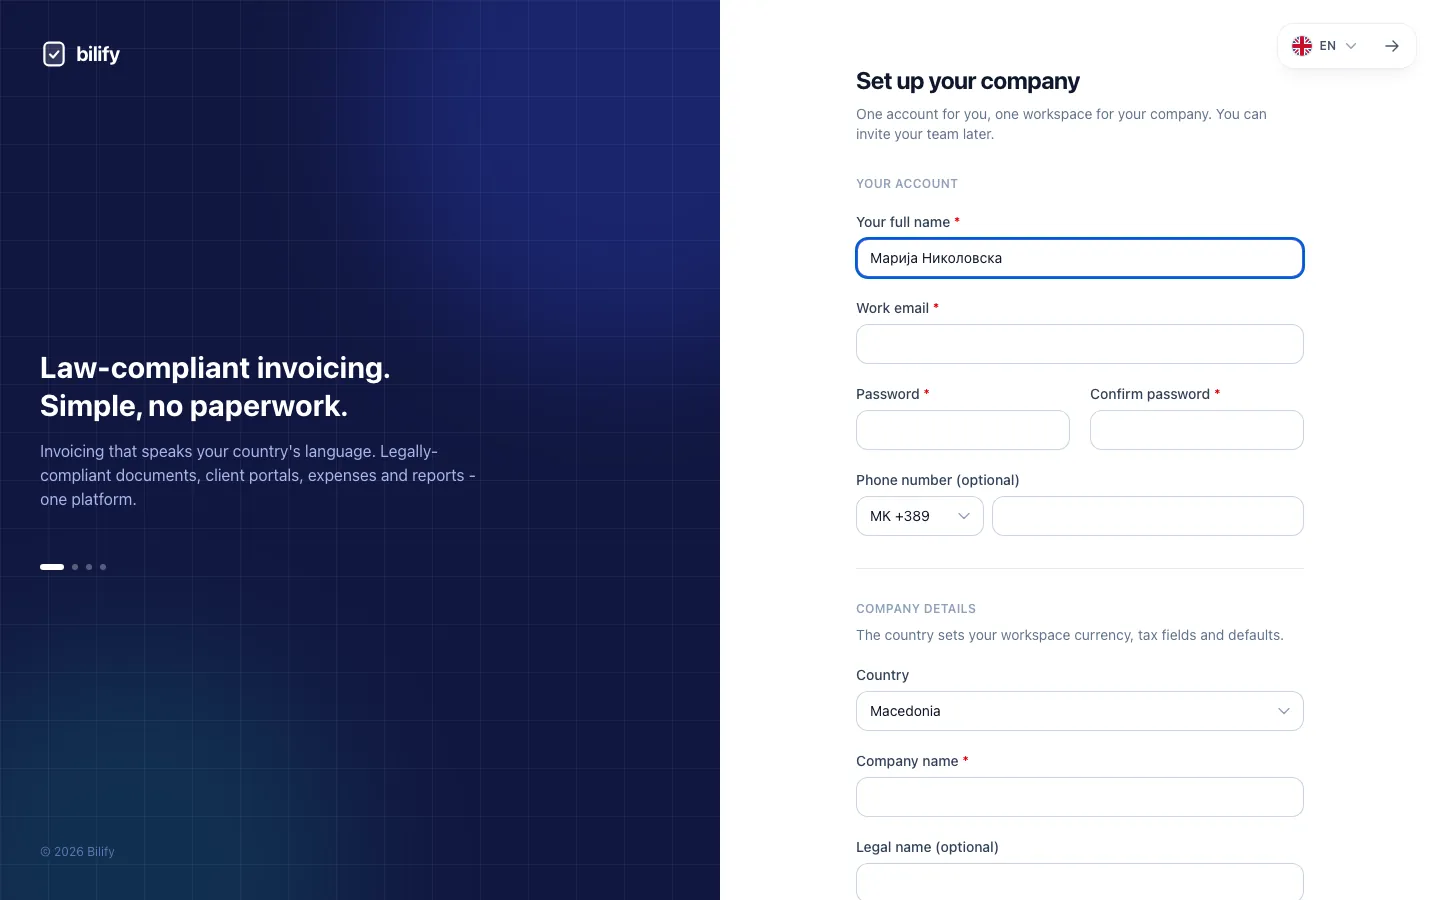
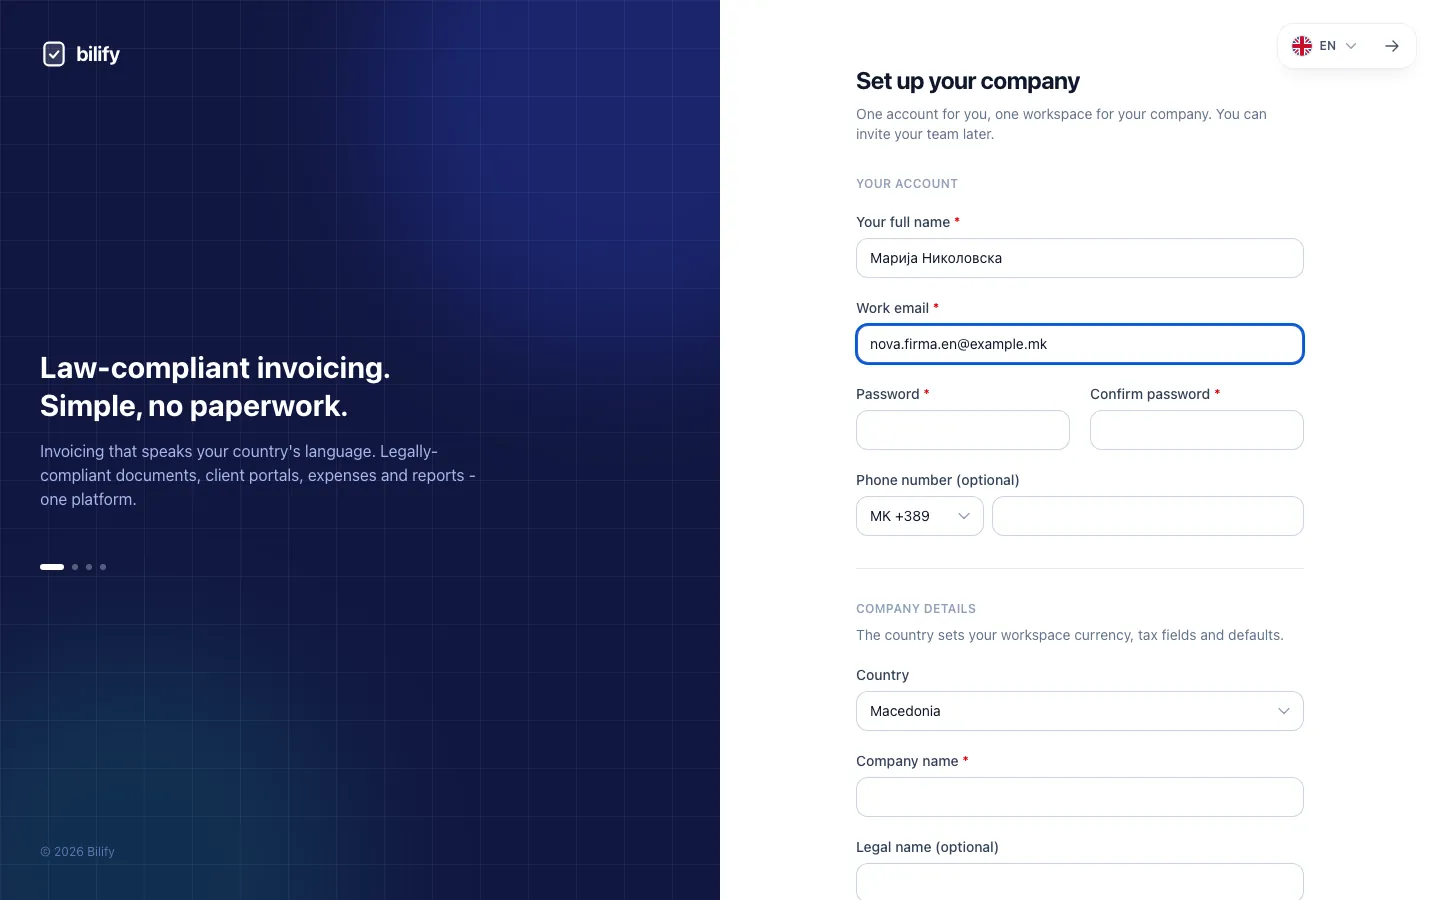
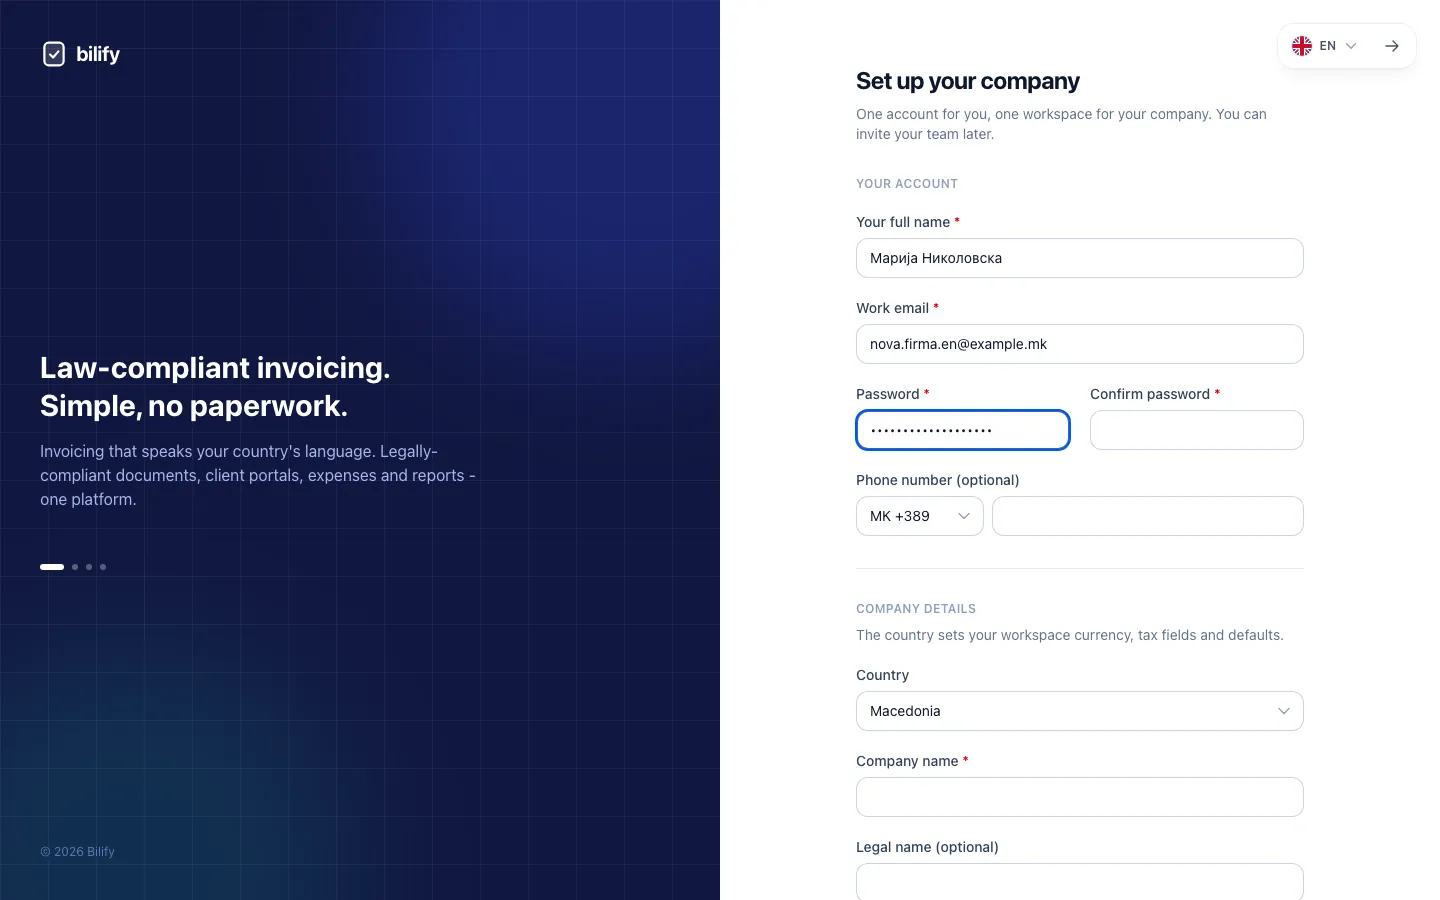
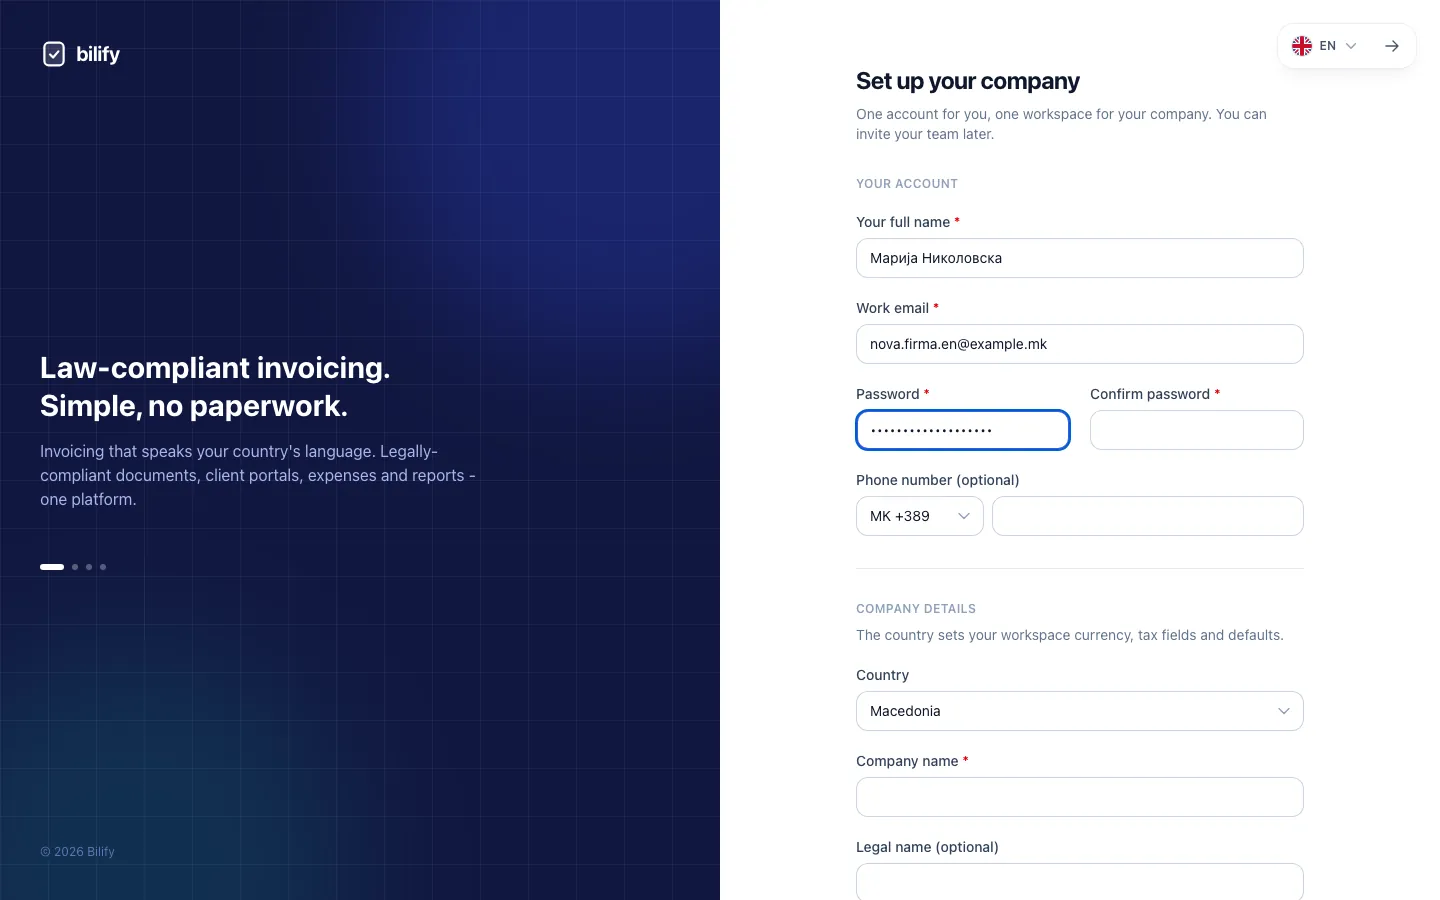
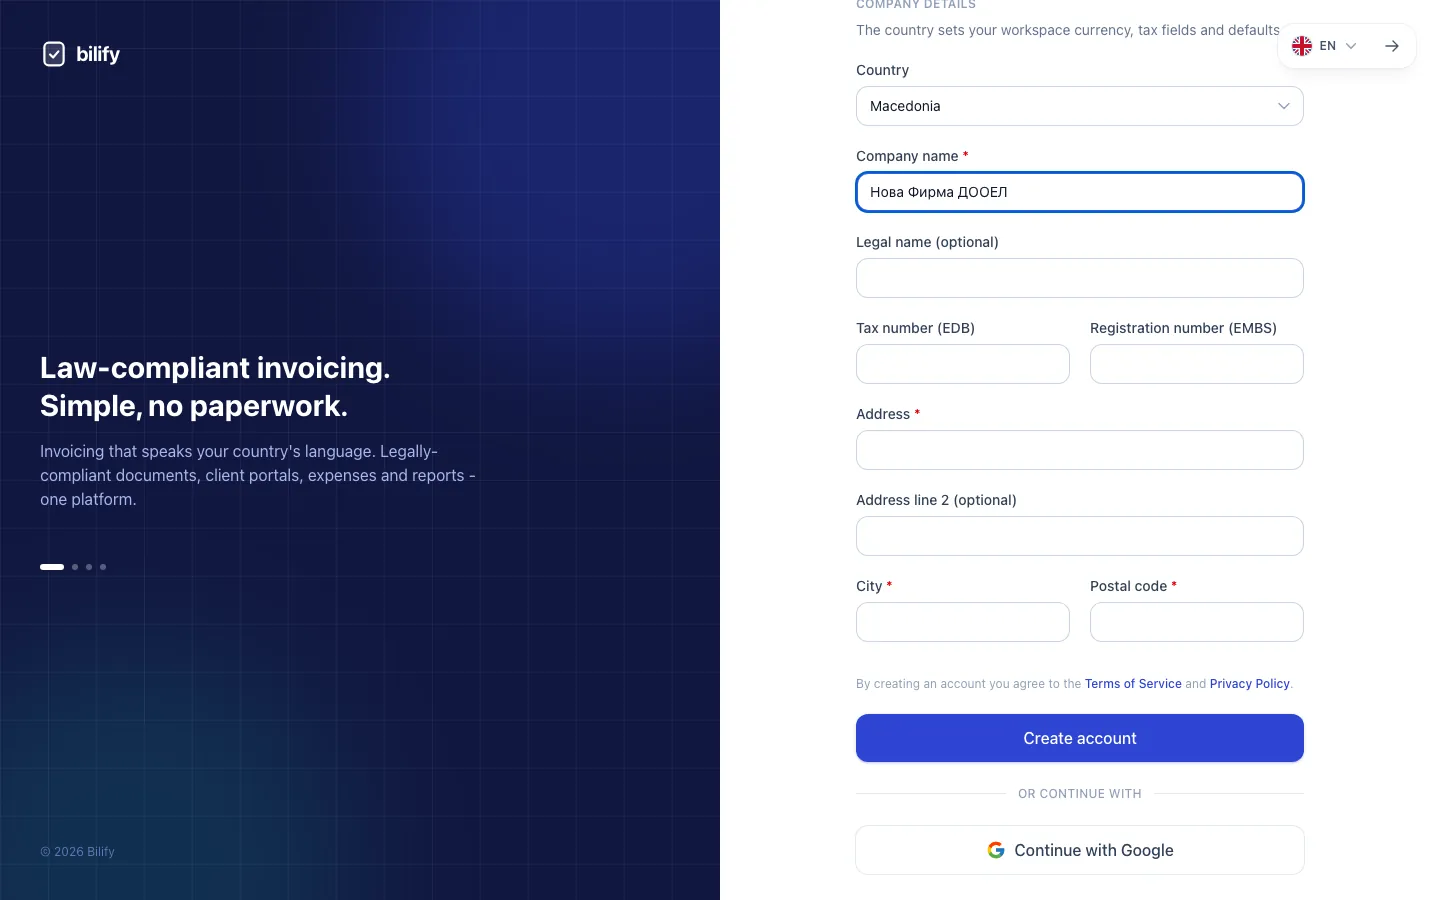
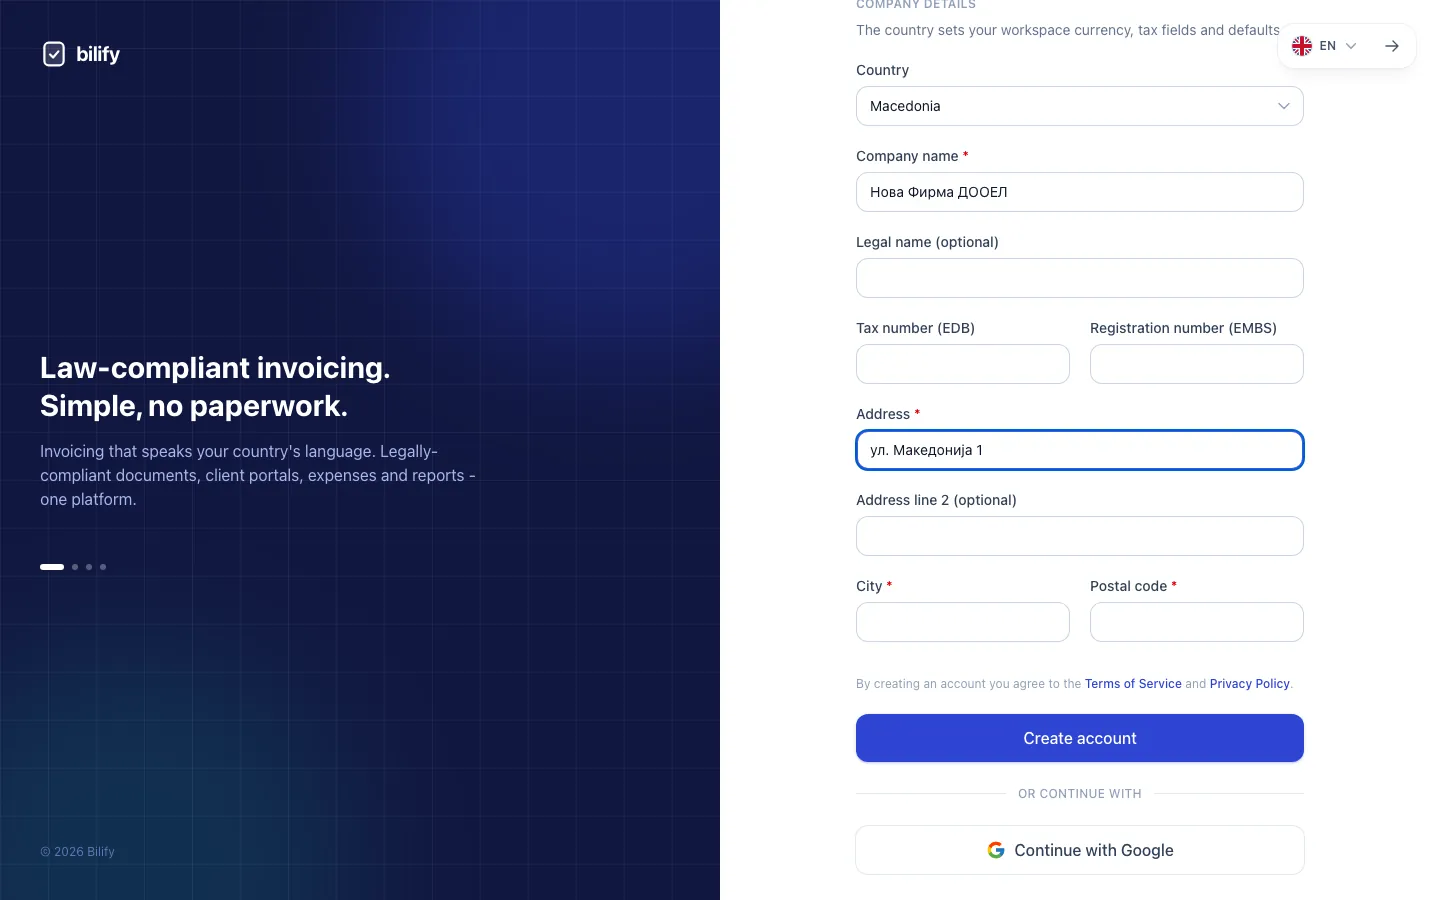
- Step 1: Enter your full name. This is the person who becomes the owner of the new company.
- Step 2: Use a work email you can open right away, because the verification link goes there.
- Step 3: Choose a password and type it again in the confirmation field below.
- Step 4: The country sets your currency, tax fields and defaults, so pick the one your company is registered in.
- Step 5: Type the company name you invoice under. You can add the legal name, EDB and EMBS now or later.
- Step 6: Address, city and postal code are required because they appear on every document you issue.
- Step 7: Click Create account. Bilify creates your workspace and emails you a verification link.
- Open the Bilify website and click Get started, or go to the Log in page and click Create one.
- Under Your account, fill in Your full name, Work email, Password and Confirm password. The password needs at least 8 characters, with letters and numbers. Phone number (optional) can stay empty.
- Under Company details, check the Country. It sets your workspace currency, tax fields and defaults, and it cannot be changed later from the app.
- Enter the Company name you invoice under. Legal name (optional), Tax number (EDB) and Registration number (EMBS) can be added now or later in the company profile.
- Fill in Address, City and Postal code. They are required because they appear on your documents.
- Click Create account.
You become the Owner of the new company, with every permission.
Signing up with Google or Apple
If the sign-up page shows Continue with Google or Continue with Apple, you can use that instead of a password. The provider has already confirmed your email, so you skip the verification step. Your account then has no Bilify password; if you want one later, use Forgot password? on the login page to set it.
Confirm your email address
After Create account you land on Check your inbox, and Bilify sends a verification email.
- Open the email Verify your email address and click Verify email address.
- The link is valid for 60 minutes. If it expired or the email did not arrive, click Resend verification email on the same screen. You can request a few links per minute.
- Once confirmed, sign in. You cannot open the company workspace until the address is verified.
If the email does not arrive, check your spam folder and make sure the address is spelled correctly. If you mistyped it, open the Account page directly at the address /app/account (the verification screen has no link to it), correct the email and click Save; a new link goes to the corrected address.
Choose a plan
The first time you open the workspace it is locked behind a Choose a plan panel.
- Pick Monthly or Yearly at the top of the list.
- Click the plan you want. Each card shows its price and the limits for team members, documents per month and clients.
- Click Next and complete the payment.
Free trial on your first company
Your first company starts with a free trial on the plan you choose. The trial end date appears under Current plan on Settings > Billing, and the Overview page shows how many days are left. When the trial ends, the plan starts billing; nothing changes inside the app. Additional companies you add later do not get a trial.
Only the Owner can choose a plan. Anyone else who signs in to a company without a plan sees a message asking the owner to choose one. Your Account page and the help centre stay reachable while the company has no plan.
If the panel says there are no plans for your country yet, open a support ticket or contact us through the website.
Signing in later
- Go to Log in, enter your Email address and Password, and tick Remember me on your own device.
- If you set up a passkey, click Sign in with a passkey instead (see Account and security).
- Forgot your password? Click Forgot password?, enter your email and click Send reset link. The link is valid for 60 minutes.
- After five wrong attempts in a row the login form asks you to wait a moment before trying again.
Next step
Check your company profile before you issue anything.
Was this page helpful?
Related articles
Still stuck?
Write to us and we will get back to you within one working day.