Use your own domain for the portal
Serve your client portal from a domain you own, such as portal.yourcompany.mk, with the DNS records to add, verification statuses and HTTPS.
You can run your client portal on a domain you own, for example portal.yourcompany.mk, so your clients never see a Bilify address. The setup has three parts: add the domain in Bilify, create two DNS records at the company that hosts your domain's DNS, then switch the portal to the new domain once Bilify has verified it.
Plan for some waiting time. DNS changes usually show up within minutes to a few hours, depending on your provider.
Use a subdomain, not your main website
Pick a subdomain such as portal.yourcompany.mk or invoices.yourcompany.mk. Your main website (yourcompany.mk and www.yourcompany.mk) keeps working as it is. Pointing the bare domain at the portal replaces your website with the portal.
Step 1: Add the domain in Bilify
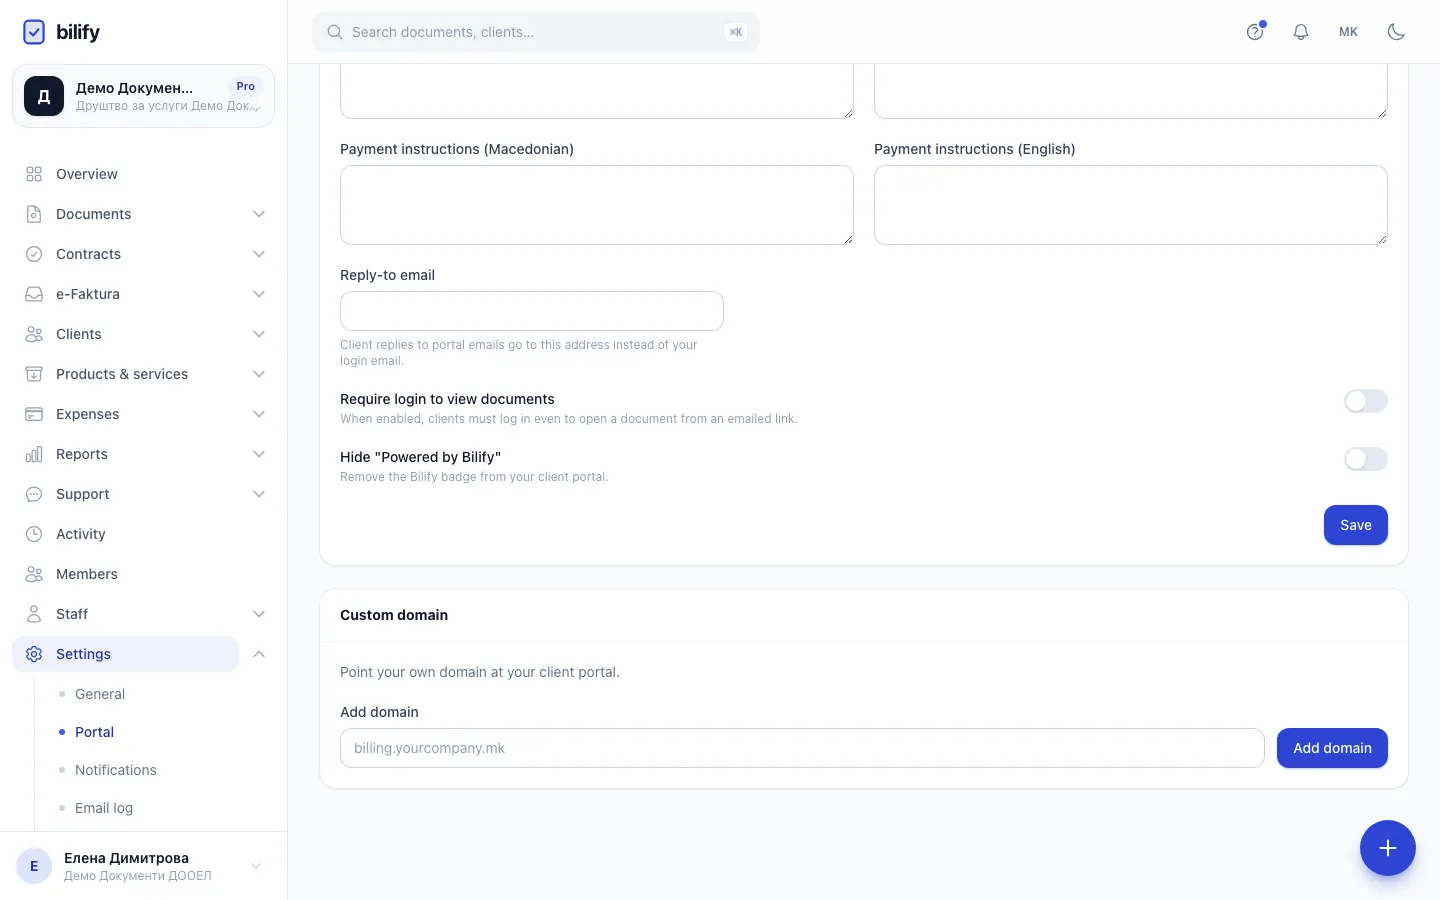
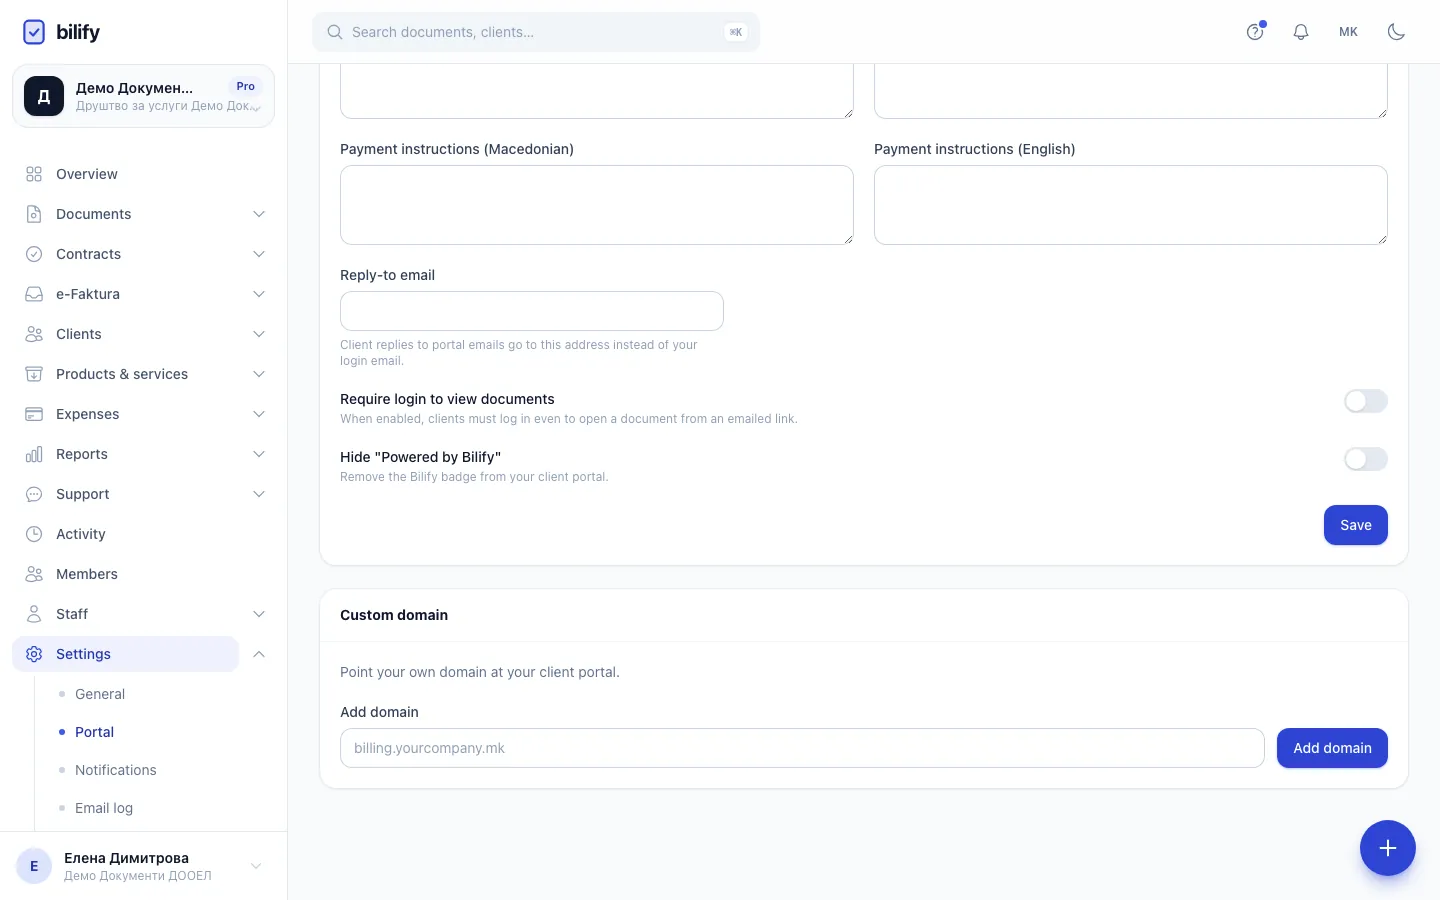
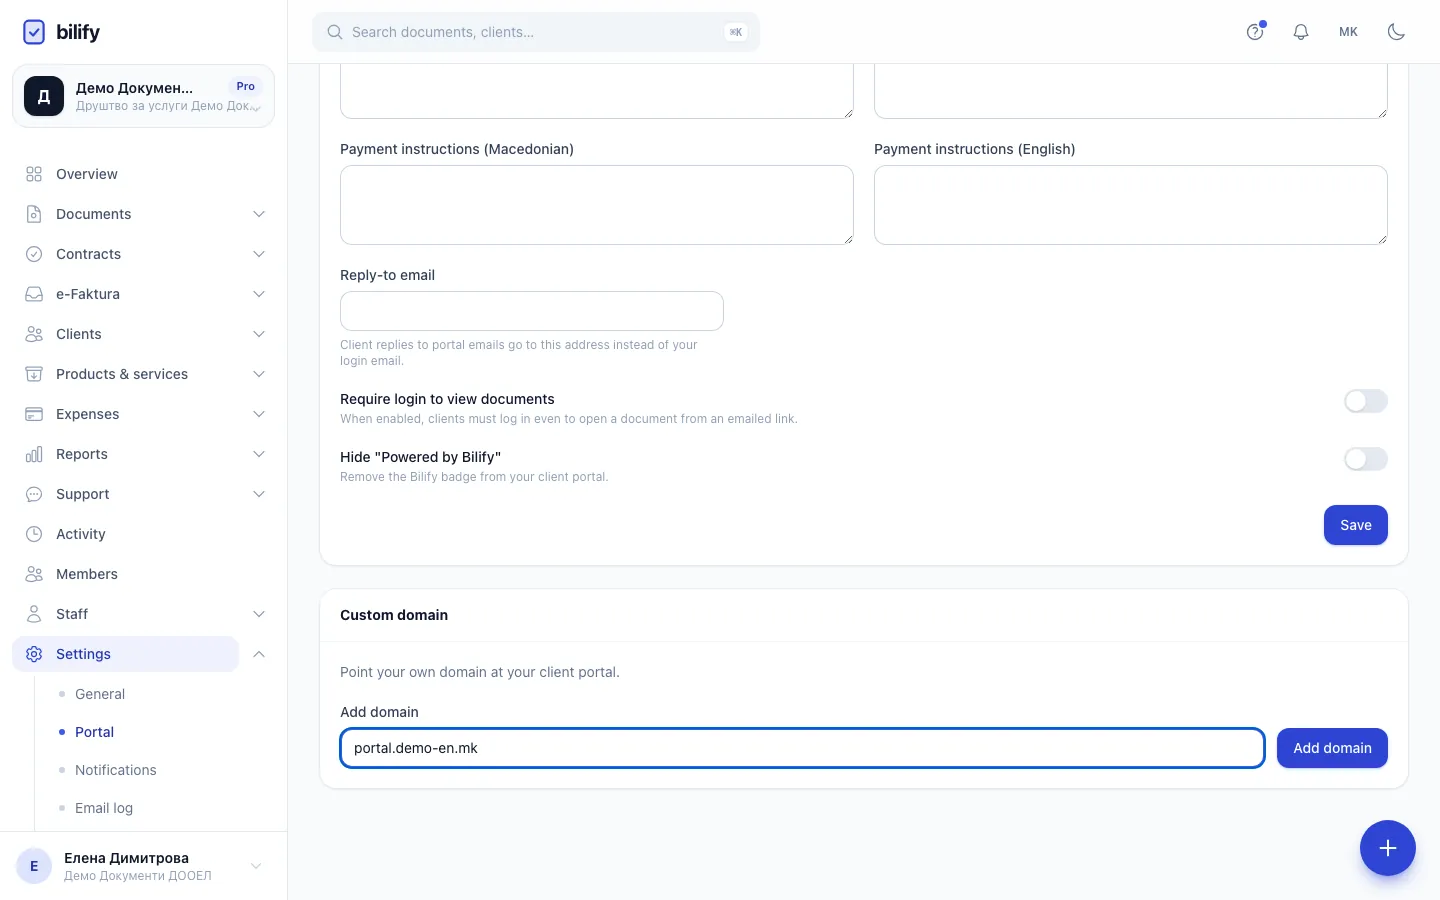
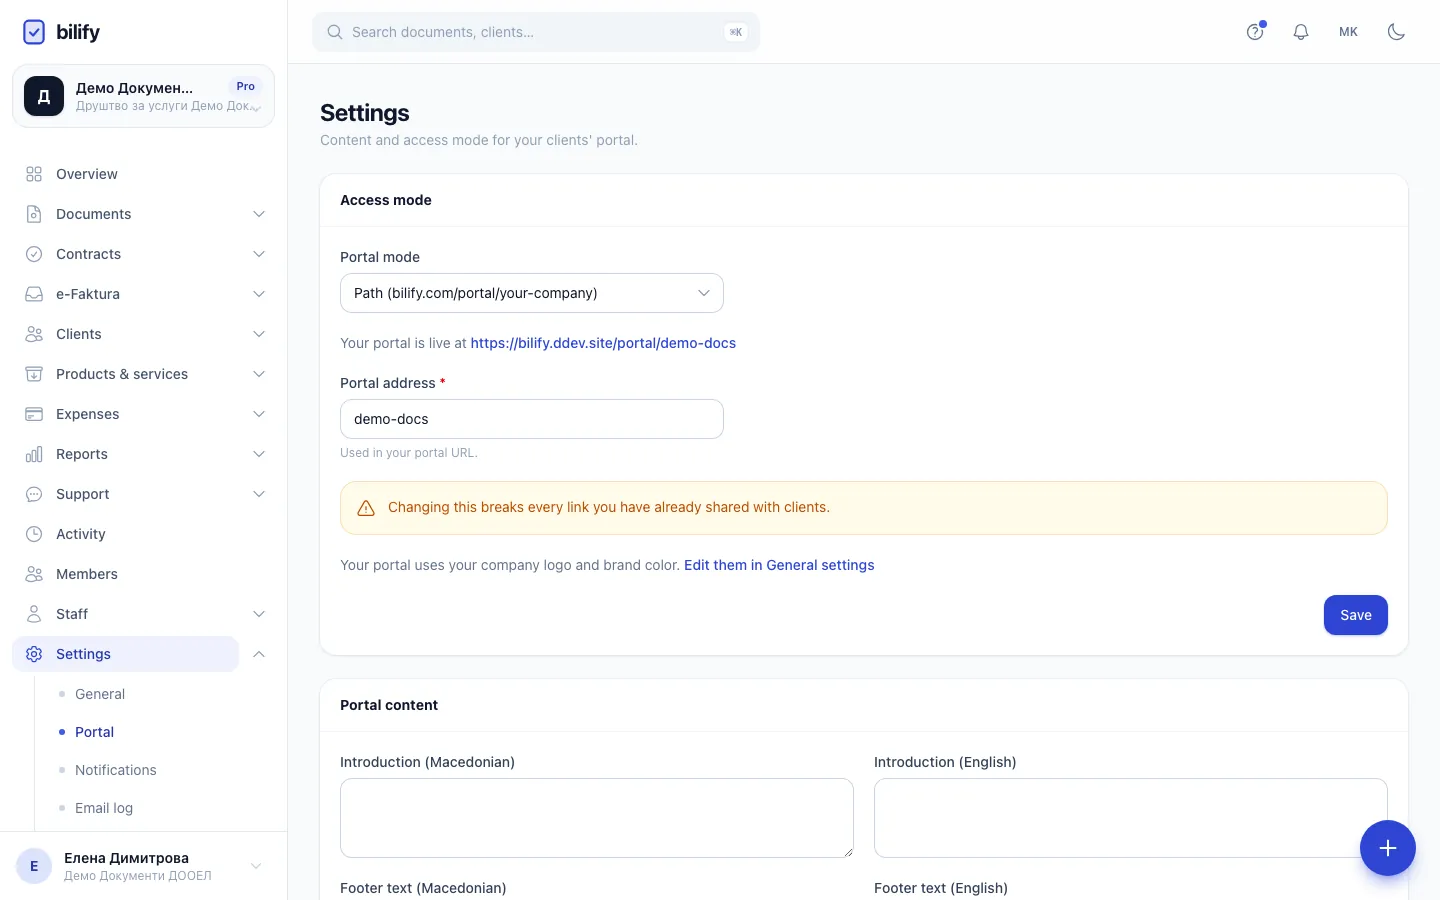
- Step 1: Custom domains are managed in their own card at the bottom of Settings, Portal.
- Step 2: Type the domain your clients will open, for example portal.yourcompany.mk.
- Step 3: Click Add domain. Bilify then shows the exact DNS records to create at your domain provider.
- Step 4: Only after the domain shows Active, switch Portal mode to Your own domain and save.
- Open Settings > Portal and scroll to the Custom domain card.
- Type the domain in the Add domain field, for example
portal.yourcompany.mk. Do not includehttps://or a trailing slash. - Click Add domain.
The card now shows your domain with the status Pending DNS, and a DNS records panel with the exact records to create. Each value has a Copy button. A company can have one custom domain at a time.
Adding a domain needs a package that includes custom domains. Bilify checks this when you add the domain too, so the domain is refused on any other package.
Step 2: Create the DNS records
Bilify shows one of two record sets, depending on the domain you entered.
A subdomain (recommended), for example portal.yourcompany.mk
| Type | Host | Value |
|---|---|---|
| CNAME | portal.yourcompany.mk |
The Bilify app domain shown in the panel |
| TXT | _bilify-verify.portal.yourcompany.mk |
The verification code shown in the panel |
A root domain, for example yourcompany.mk
A root domain cannot have a CNAME record, so Bilify asks for an A record instead.
| Type | Host | Value |
|---|---|---|
| A | yourcompany.mk |
The Bilify IP address shown in the panel |
| TXT | _bilify-verify.yourcompany.mk |
The verification code shown in the panel |
| CNAME (optional) | www.yourcompany.mk |
The Bilify app domain, so the www address works too |
If the value of the A record is empty in the panel, root domains cannot be verified on Bilify yet. Remove the domain and use a subdomain instead.
Domains ending in .com.mk, .org.mk, .edu.mk and similar
Bilify recognises two-part endings. yourcompany.com.mk is treated as a root domain (A record), and portal.yourcompany.com.mk as a subdomain (CNAME), so the panel always shows the right record set.
The Host field at your provider
Most DNS panels add your domain to the host automatically. If yours does, enter only the part in front of your domain:
| Panel shows | Enter as Host |
|---|---|
portal.yourcompany.mk |
portal |
_bilify-verify.portal.yourcompany.mk |
_bilify-verify.portal |
yourcompany.mk (root) |
@ (or leave it empty, depending on the panel) |
A common mistake is entering the full name in a panel that adds the domain again, which creates portal.yourcompany.mk.yourcompany.mk. After saving, check how the record is listed.
Instructions per DNS provider
Records are edited wherever your domain's nameservers point, which is not always the company you bought the domain from. If you moved DNS to Cloudflare or to your hosting company, add the records there.
.mk domains (MARnet)
MARnet runs the .mk registry, but you do not edit DNS records at MARnet itself. A .mk domain is registered through an accredited registrar, and its DNS zone is hosted either by that registrar or by the provider whose nameservers the domain uses (often your web hosting company).
- Find out where your DNS is hosted: look up the domain's nameservers in the WHOIS lookup on the MARnet website, or ask your registrar.
- Sign in to that provider's control panel and open the DNS zone for your domain. It is usually called DNS management, DNS zone editor or similar.
- Add the CNAME (or A) record and the TXT record from the Bilify panel, using the Host rules above.
- Save the zone.
If your registrar only offers DNS changes by email or support ticket, send them the records exactly as shown in the panel, including the full _bilify-verify host name.
Cloudflare
- Sign in to the Cloudflare dashboard and select your domain.
- Go to DNS > Records and click Add record.
- For the CNAME: choose type CNAME, enter
portalas the name and the Bilify app domain as the target. Set Proxy status to DNS only (grey cloud). - Click Save, then Add record again.
- For the TXT: choose type TXT, enter
_bilify-verify.portalas the name and paste the verification code as the content. Save.
Turn the Cloudflare proxy off
With the orange cloud (Proxied) turned on, Cloudflare hides the CNAME, and Bilify cannot verify the domain or issue its HTTPS certificate. Keep the portal record on DNS only.
Any other registrar or hosting panel
- Sign in where your DNS is hosted and open the DNS settings for the domain. Look for names like DNS management, DNS zone, Advanced DNS or Name server records.
- Add a new record of type CNAME (A for a root domain) with the host and value from the Bilify panel.
- Add a new record of type TXT with the
_bilify-verifyhost and the verification code. - Leave TTL at its default, or pick the lowest value offered to speed up changes.
- Save. Do not add quotation marks around the TXT value unless the panel asks for them.
One-click setup with Domain Connect
Requires: One-click domain DNS setup
When Bilify recognises that your DNS provider supports Domain Connect, the DNS records panel shows Detected followed by the provider name, and a Set up DNS automatically at button followed by the provider name.
- Click the button. You are taken to your DNS provider.
- Sign in there and approve the change. The provider creates the CNAME and TXT records for you.
- You are sent back to Settings > Portal with the message Automatic setup complete. Checking your DNS now.
If the provider reports a problem, you return with a message that automatic setup did not complete, and the manual records are shown so you can add them yourself. You can also open Add records manually instead under the button at any time.
One-click setup works only for subdomains. Root domains always use the manual records. The button appears only when your provider supports the standard, so other providers need the manual steps.
Step 3: Wait for verification
Bilify checks your DNS automatically every 15 minutes. To check right away, click Verify now (you can do this at any time, whatever the status) in the Custom domain card, wait a minute and reload the page. Under the domain you see Last checked and, once it succeeds, Verified.
Both records must be found: the CNAME pointing at the Bilify app domain (or the A record pointing at the Bilify IP) and the TXT record containing your verification code.
| Status | Meaning | What to do |
|---|---|---|
| Pending DNS | The domain was added and has not been checked yet. | Add the records, then click Verify now. |
| Verifying | A check ran but did not find both records yet. Bilify keeps checking. | Wait for DNS to spread, or fix the records if they are wrong. |
| Active | Both records were found. The domain can serve your portal. | Go to step 4. |
| Failed | The domain was still not verified 48 hours after you added it. Bilify keeps checking automatically until 30 days after you added it. | Fix the records. It becomes Active on the next successful check, or click Verify now. |
| Disabled | The domain was switched off on Bilify's side. | Contact support. |
You can check your records yourself with any online DNS lookup tool: search for the CNAME of portal.yourcompany.mk and the TXT of _bilify-verify.portal.yourcompany.mk.
Step 4: Switch the portal to your domain
Only when the status is Active:
- In the Access mode card, set Portal mode to Your own domain.
- Click Save.
- Your portal is live at now shows your domain. Open it to check.
You can switch only once the domain is Active
If the domain is not Active yet, saving shows Verify your custom domain first. Until it is active, clients could not reach the portal on it. and the mode stays as it was. In this mode the portal no longer answers on the path or subdomain address.
If the domain stops working
When the portal runs on your domain and the domain is disabled by Bilify or fails a later verification, Bilify moves the portal automatically to your subdomain address if your package includes subdomains, otherwise to the path address (the Bilify address followed by /portal/your-address). Links your clients have on the custom domain stop working until a domain is Active again. Fix the records, wait for Active, then switch Portal mode back to Your own domain.
HTTPS
You do not need to buy or upload a certificate. Once the domain is Active, Bilify requests an HTTPS certificate for it automatically the first time it is opened. The very first visit can take a few seconds longer while the certificate is issued.
Remove the domain
- In the Custom domain card, click Remove domain and confirm.
- Delete the CNAME (or A) and TXT records at your DNS provider.
If the portal was running on the domain, Bilify moves it automatically to your subdomain address if your package includes subdomains, otherwise to the path address, and shows which one it now uses. Links your clients have on the custom domain stop working.
You can add a domain again later, the same one or a different one, with Add domain. It goes through the DNS check again, and you switch Portal mode back once it is Active. If you only need to fix the DNS records, keep the domain and fix them at your provider.
Was this page helpful?
Related articles
Still stuck?
Write to us and we will get back to you within one working day.