Send email from your own Brevo account
Connect your Brevo account so invoices, reminders, portal links and reports are sent from your own domain, with delivery tracking in the email log.
By default, the emails Bilify sends on your company's behalf (invoices, payment reminders, portal sign-in links, scheduled reports, contract signing requests, team invitations) go out through Bilify's own mail system. If you connect your own Brevo account, they go out through Brevo instead, from a sender address on your own domain, and Bilify tracks delivery, opens and bounces in the email log.
Brevo is the only provider you can connect today. Bilify connects with a Brevo API key; SMTP logins and other email providers are not supported.
You need the settings.email.manage permission (Owner and Admin by default).
Part 1: prepare Brevo
You do these steps in Brevo, not in Bilify. Brevo renames its menus from time to time; if a label below does not match, search Brevo's own help centre for "API key", "authenticate domain" or "add sender".
Create an API key
- Sign in to Brevo and open your account menu (top right).
- Open SMTP & API and go to the API keys tab.
- Create a new API key (Brevo calls these v3 API keys), give it a name such as "Bilify", and copy it. It starts with
xkeysib-. Brevo shows the whole key only once.
The same Brevo page also shows SMTP keys and SMTP login details. Bilify does not use them. Copy the API key.
Authenticate your domain
Authenticating the domain lets Brevo send mail that inboxes trust, so your invoices do not land in spam.
- In Brevo, open the settings for senders and domains (in the account menu).
- Add your domain, for example
yourcompany.mk. - Brevo shows the DNS records to add. Typically these are:
| Record | Purpose |
|---|---|
| A TXT record with a Brevo verification code | Proves you own the domain |
| DKIM record(s) | Signs your mail so it cannot be forged |
A TXT record on _dmarc |
Tells inboxes how to treat mail that fails the checks |
- Add each record exactly as Brevo shows it, in the DNS panel of the company where your domain is registered or hosted. Copy the names and values from Brevo; do not type them from this page.
- Back in Brevo, start the domain check. DNS changes can take from a few minutes to several hours to be visible.
Add your sender address
- In the same Brevo area, add a sender: the address your emails will come from (for example
billing@yourcompany.mk) and a name. - Verify it if Brevo asks you to.
Bilify checks that this exact address is in your Brevo sender list and marked active there.
Part 2: connect in Bilify
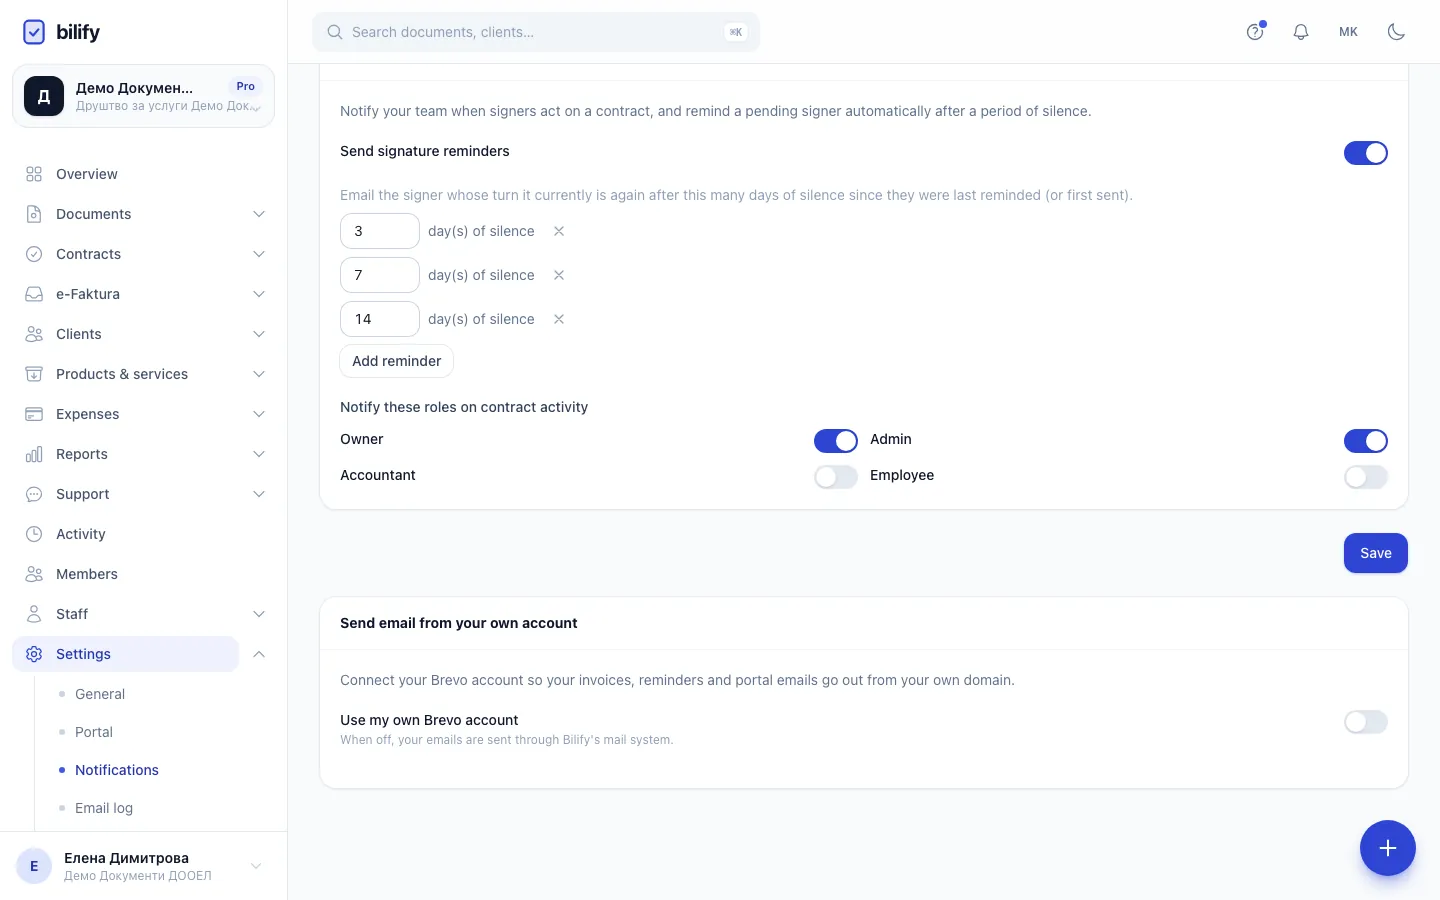
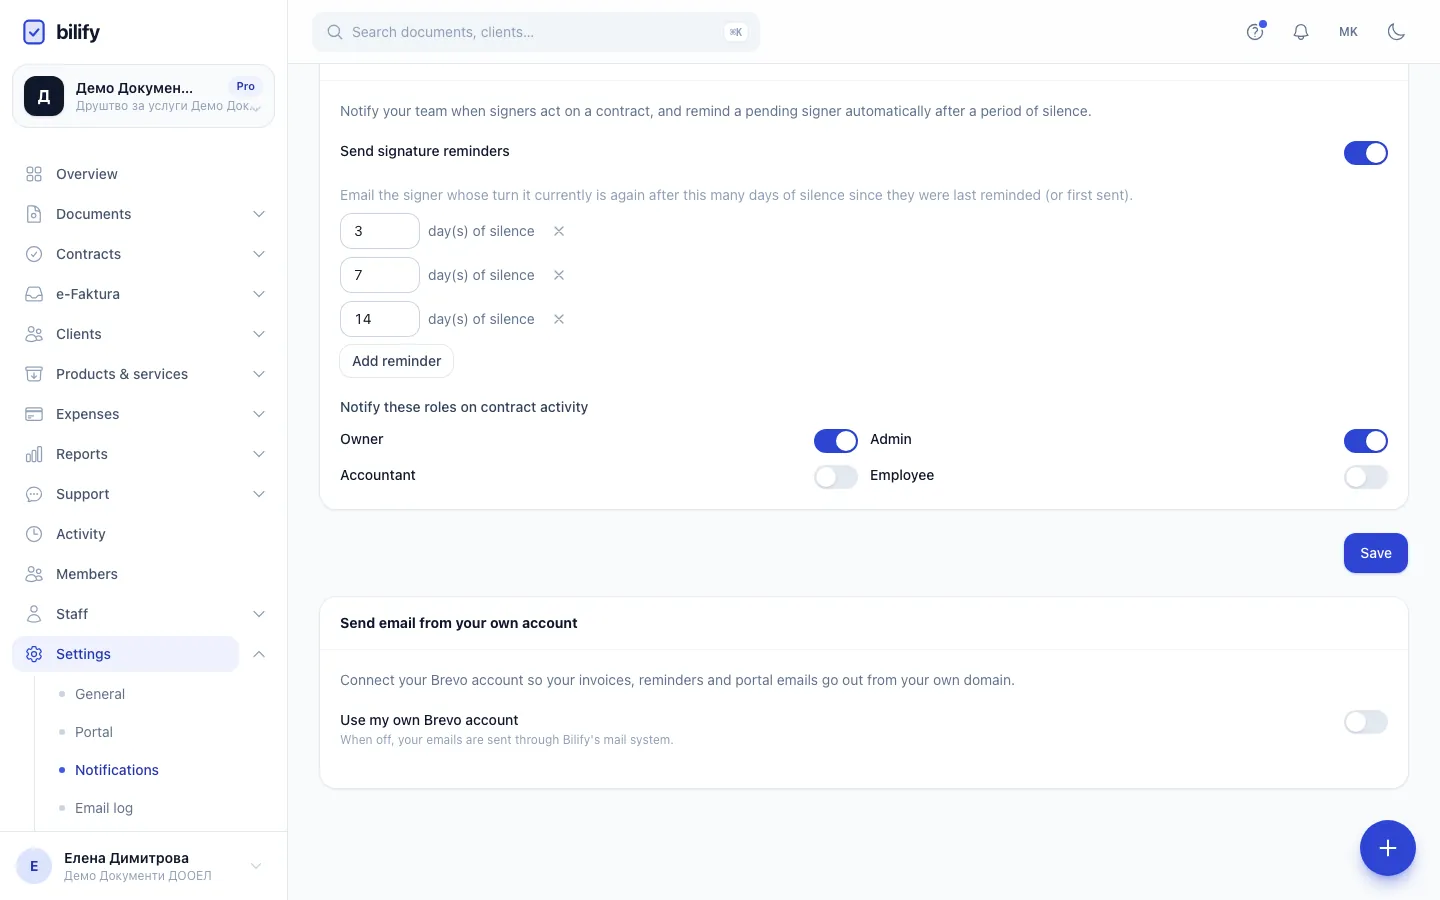
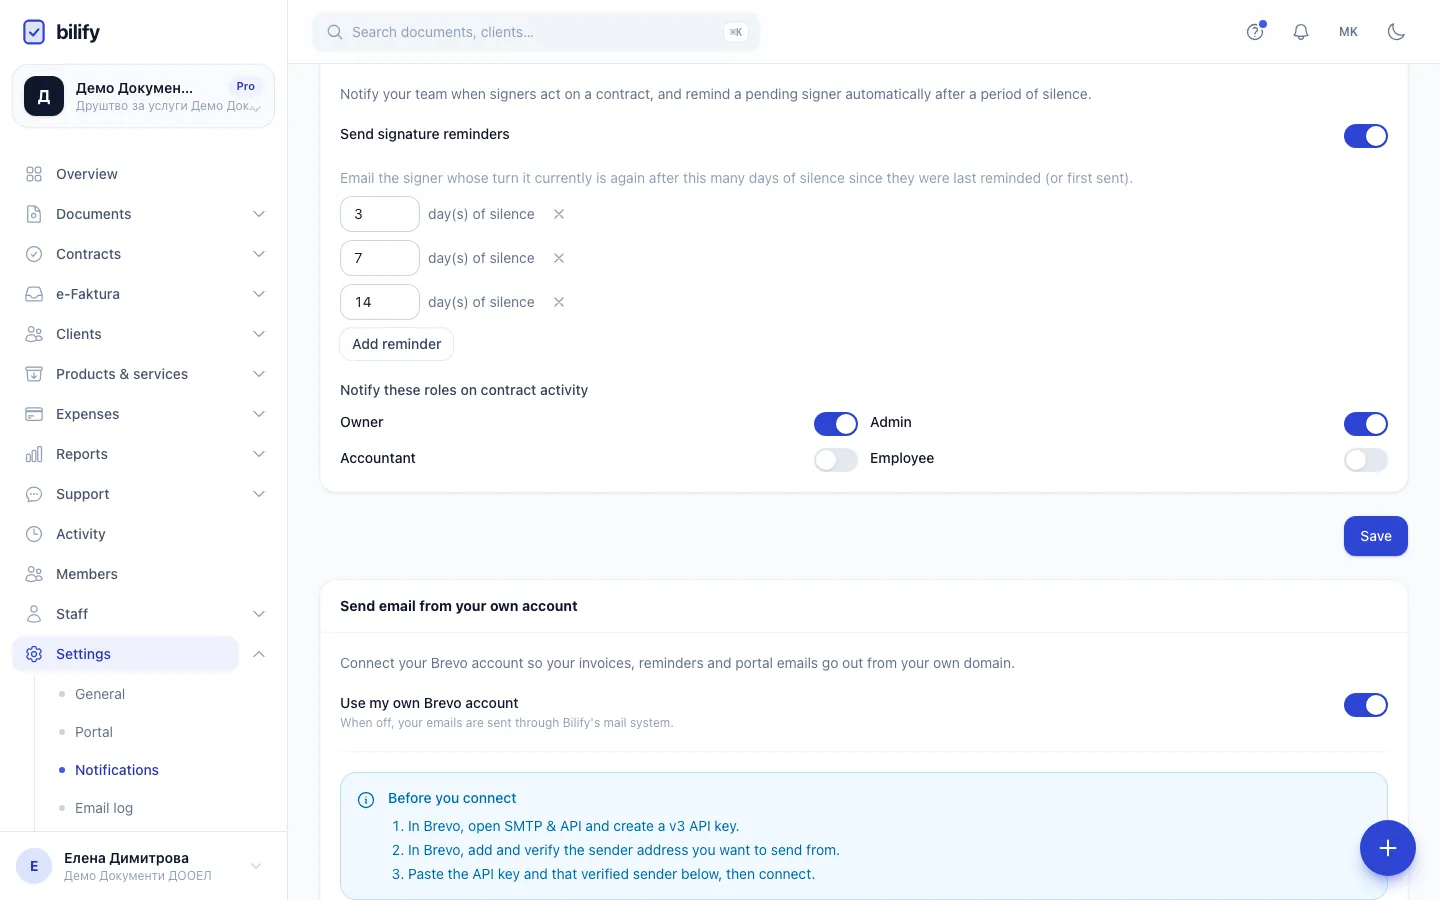
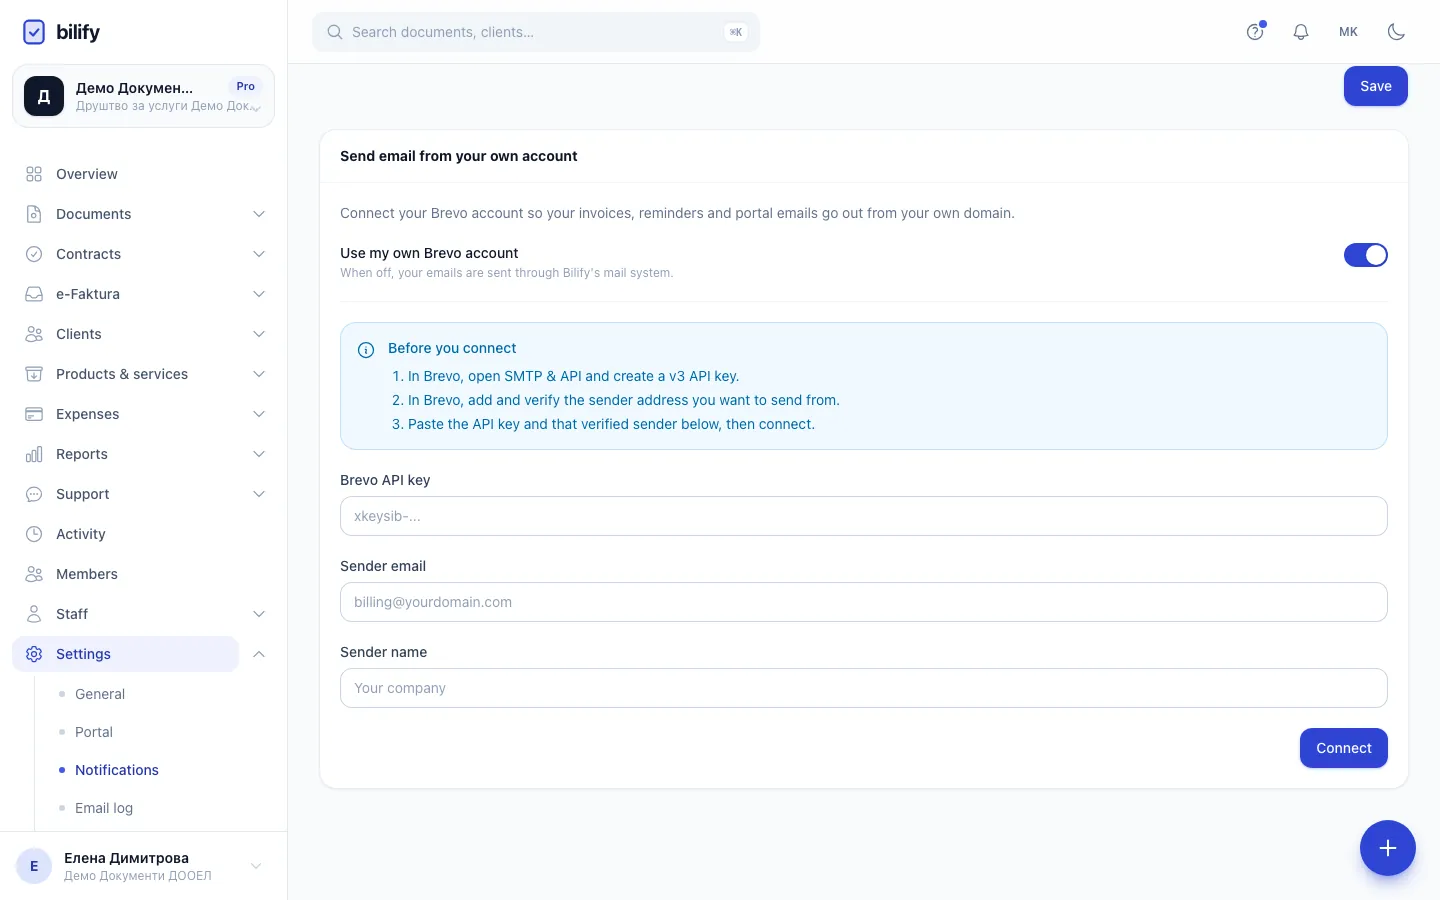
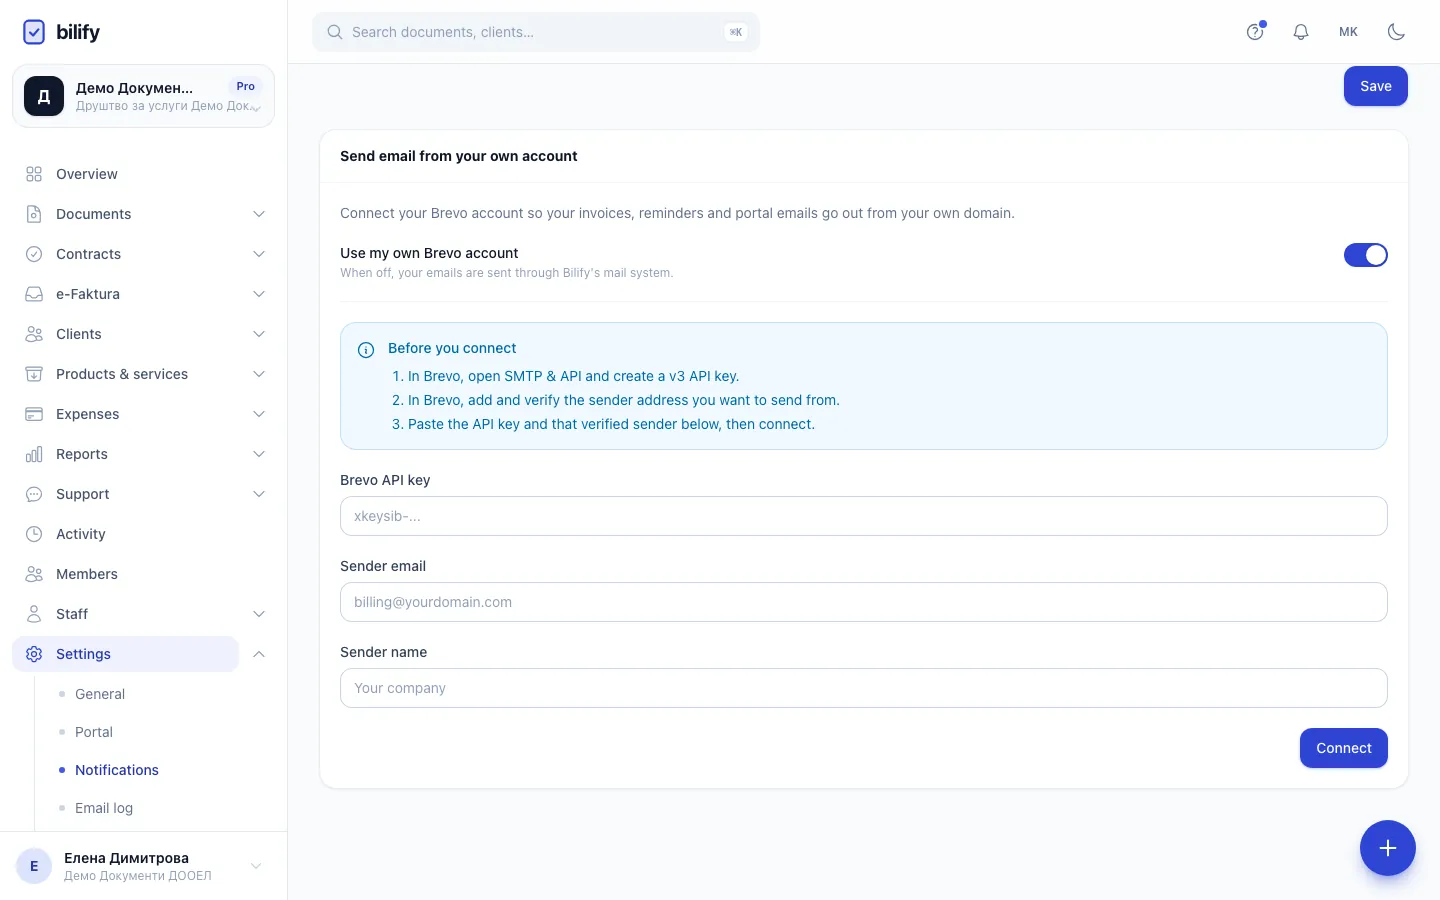
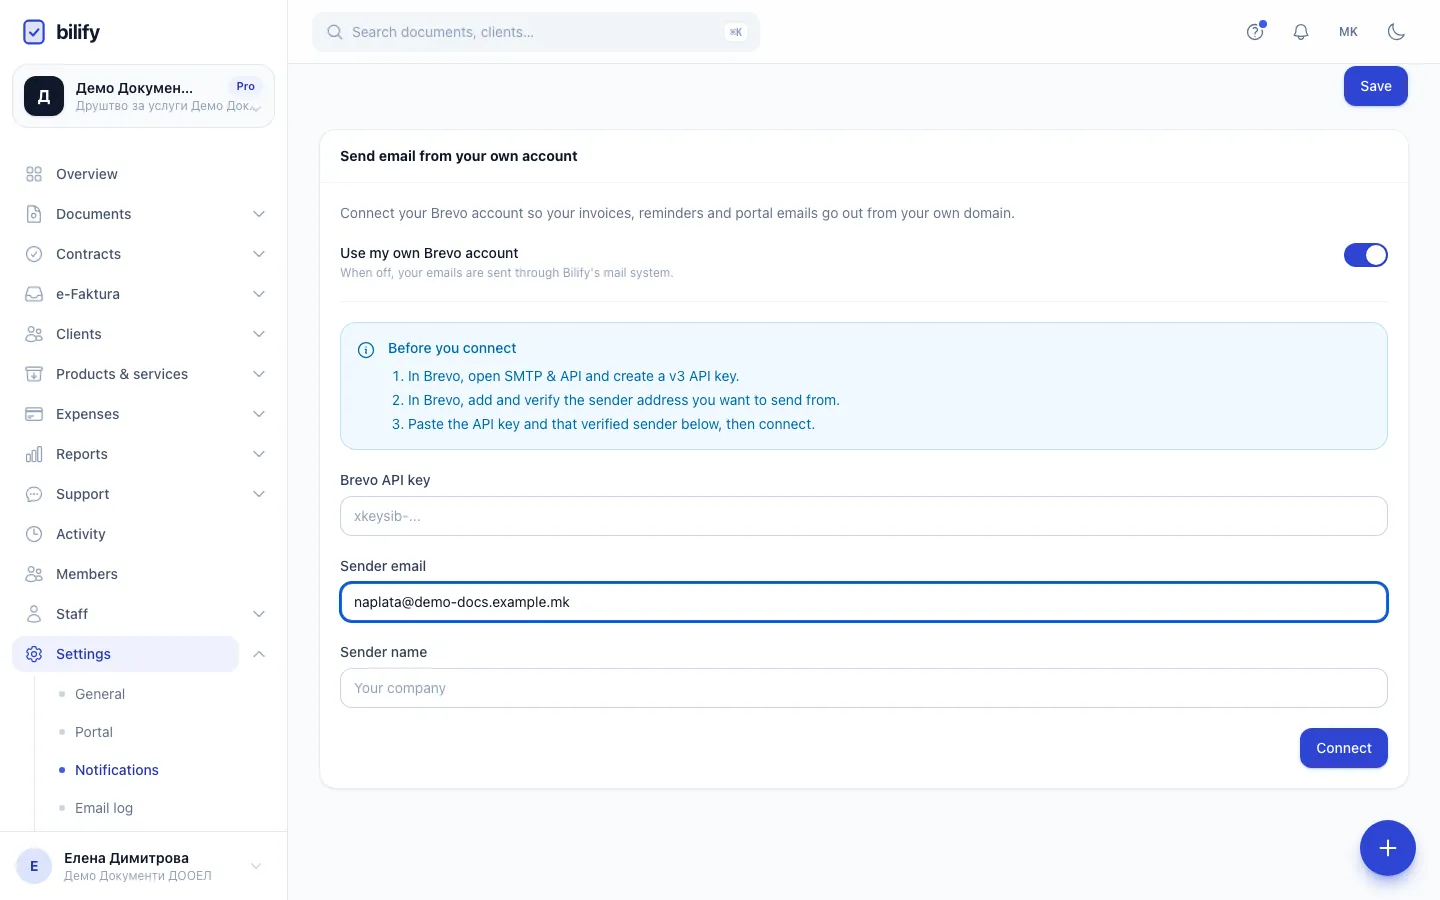
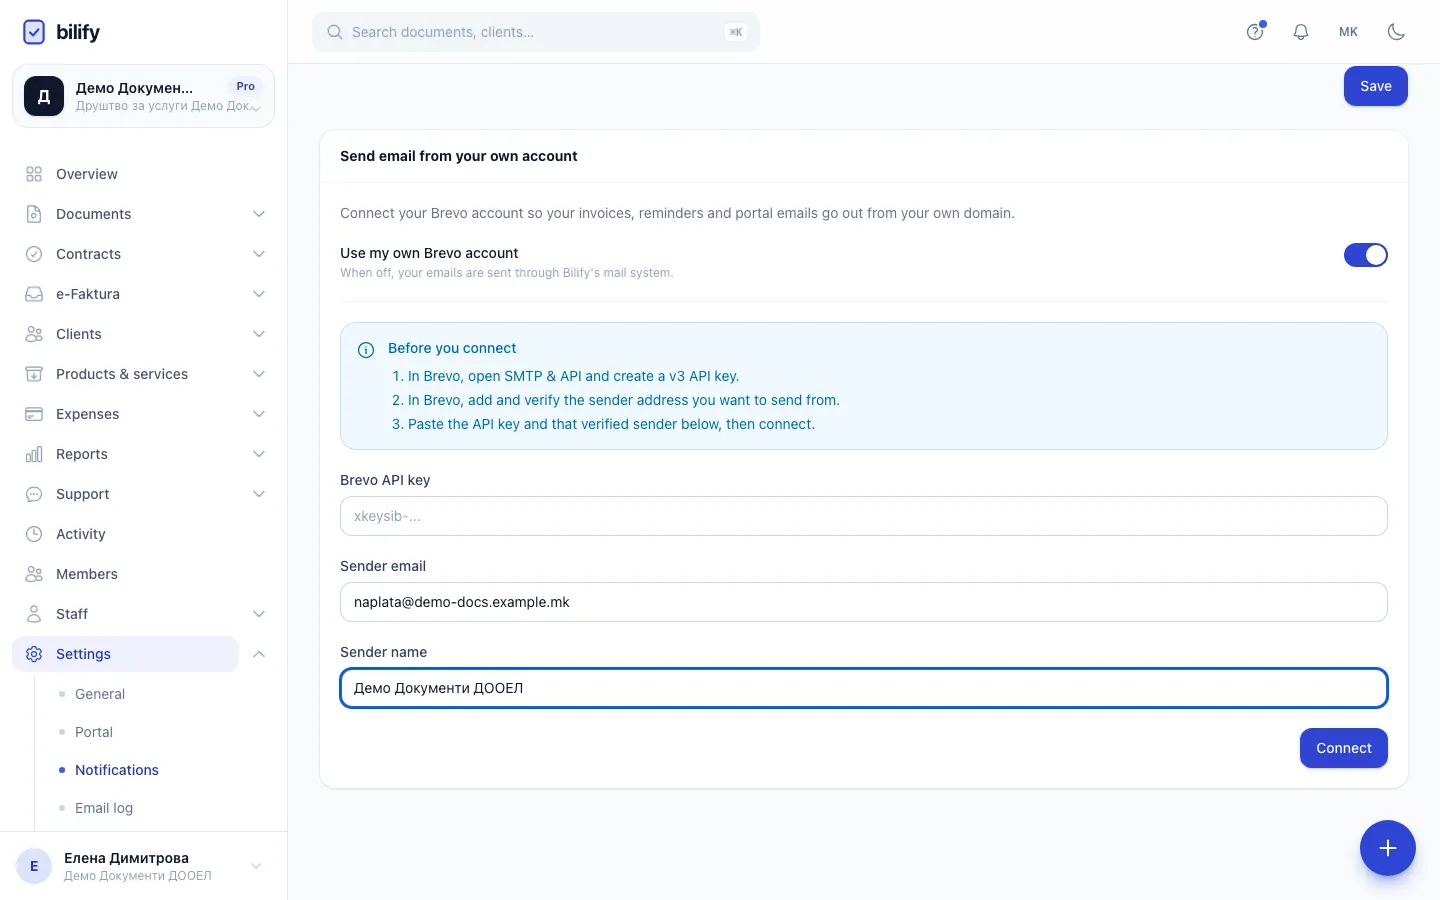
- Step 1: This card connects your Brevo account, so company emails go out from your own domain.
- Step 2: Turn on Use my own Brevo account to show the connection form.
- Step 3: Do these steps in Brevo first: create an API key and verify your sender address.
- Step 4: Paste the Brevo API key here. It starts with xkeysib- and is never shown again after you connect.
- Step 5: Enter the sender address exactly as you added it in Brevo.
- Step 6: The sender name is what clients see in their inbox.
- Step 7: Connect checks the key with Brevo and sets up delivery tracking. Until the sender is verified, mail still goes through Bilify.
- Open Settings > Notifications and scroll to Send email from your own account.
- Turn on Use my own Brevo account. The Before you connect steps appear.
- Paste the key into Brevo API key.
- Enter the Sender email: the sender address you added in Brevo.
- Optionally enter a Sender name, for example your company name.
- Click Connect.
What happens next:
| Result | What it means |
|---|---|
| "Your Brevo account is connected and sending." | Status Active. Your email now goes through Brevo. |
| "Connected. Verify your sender in Brevo, then re-check to start sending." | Status Pending verification. The key works, but Brevo does not list the sender address as active yet. Email keeps going through Bilify until you verify the sender in Brevo and click Re-check sender. |
| "That Brevo API key was not accepted." | Nothing was saved. Check that you copied the API key (not an SMTP key) and try again. |
The connected panel
Once connected, the card shows:
- The status (Active, Pending verification or Error) and the sender address.
- Brevo API key: stored. It is never shown again.
- Sender: Verified or Not verified yet.
- Delivery webhook: the address Brevo reports delivery events to, with a copy button.
- Re-check sender and Disconnect.
To change the key or sender, click Disconnect and connect again.
The delivery webhook
When you connect, Bilify creates a transactional webhook in your Brevo account automatically, for these events: delivered, opened, first open, click, hard bounce, soft bounce, spam, blocked, invalid email and error. Brevo then reports what happened to each email, and the email log updates.
If the webhook was not created (for example because the API key has restricted rights), add it by hand in Brevo: open the webhook settings for transactional emails, add a new webhook, paste the Delivery webhook address from Bilify, and tick the events above.
The webhook address contains a secret token. Do not share it. If it leaks, disconnect and connect again; the new connection gets a new address.
When something goes wrong
Bilify protects your sending automatically:
- Every night Bilify checks the key and the sender again. If the sender is no longer verified, the status goes back to Pending verification. If the key stopped working, the status becomes Error.
- If Brevo refuses an email, Bilify marks it failed, switches the connection to Error, and sends that same email again through its own mail system. Both attempts appear in the email log.
- In either case, Owners and Admins get a bell notification "Email provider needs attention", and your email goes through Bilify until you fix it. Fix the problem in Brevo, then click Re-check sender, or disconnect and connect with a valid key.
- If your package no longer includes this feature, email goes through Bilify automatically.
A sandbox workspace never sends real email, connected or not. Its emails are logged as Suppressed (sandbox).
Disconnect
Click Disconnect and confirm. Bilify removes its webhook from your Brevo account and your email goes back to Bilify's mail system. Your Brevo account itself is not changed otherwise.
Was this page helpful?
Related articles
Still stuck?
Write to us and we will get back to you within one working day.