Run several companies
Add another company to your account, give it its own plan and switch between companies without signing out.
If you run more than one business, you can keep them all under one Bilify login. Each company is a separate workspace with its own clients, documents, numbering, settings, members and subscription. Nothing is shared between them.
Add a company
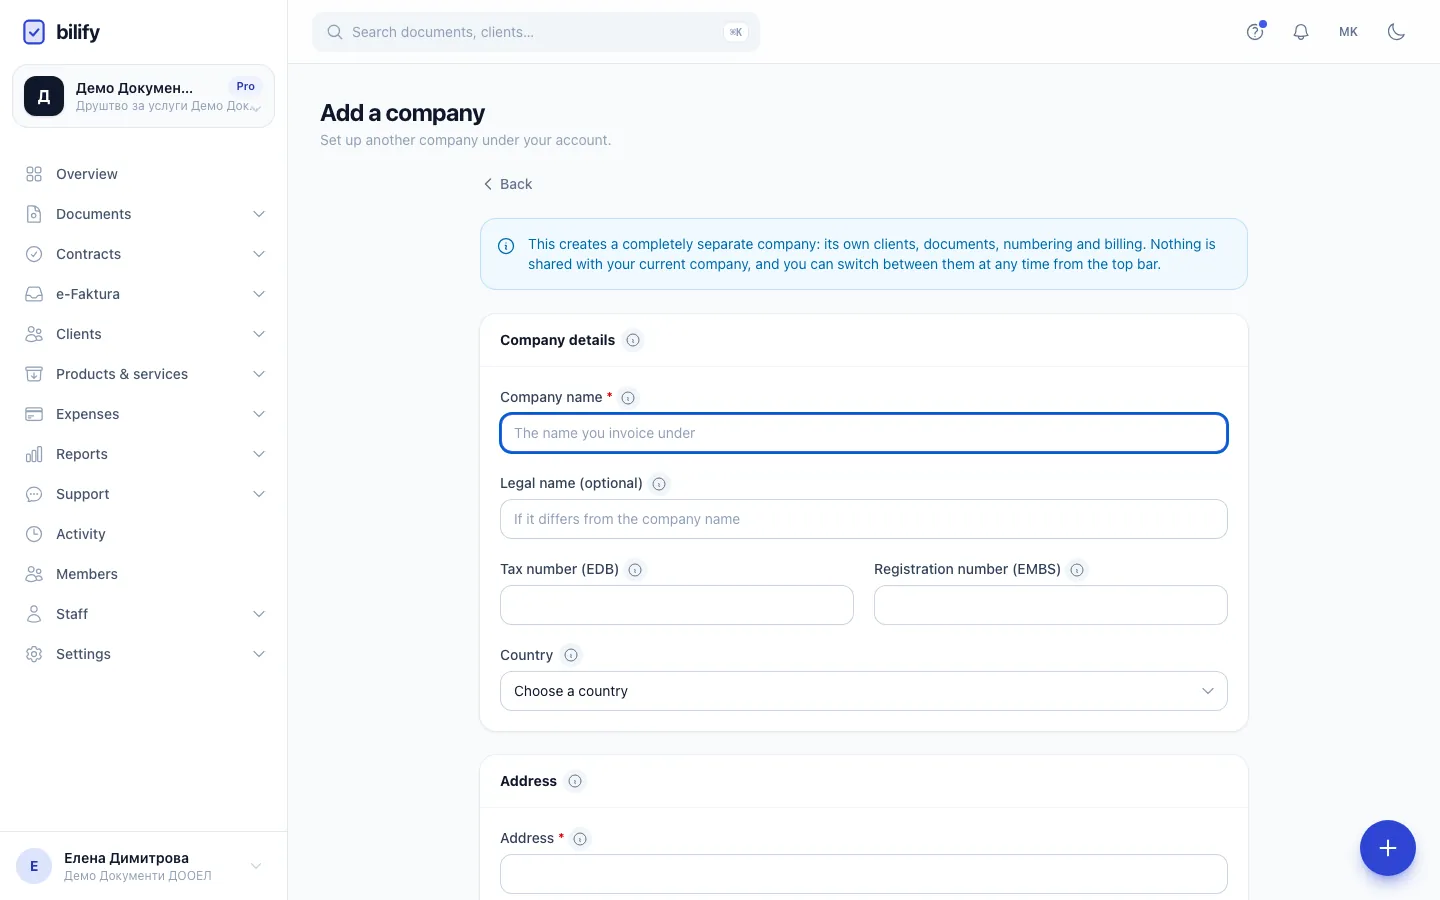
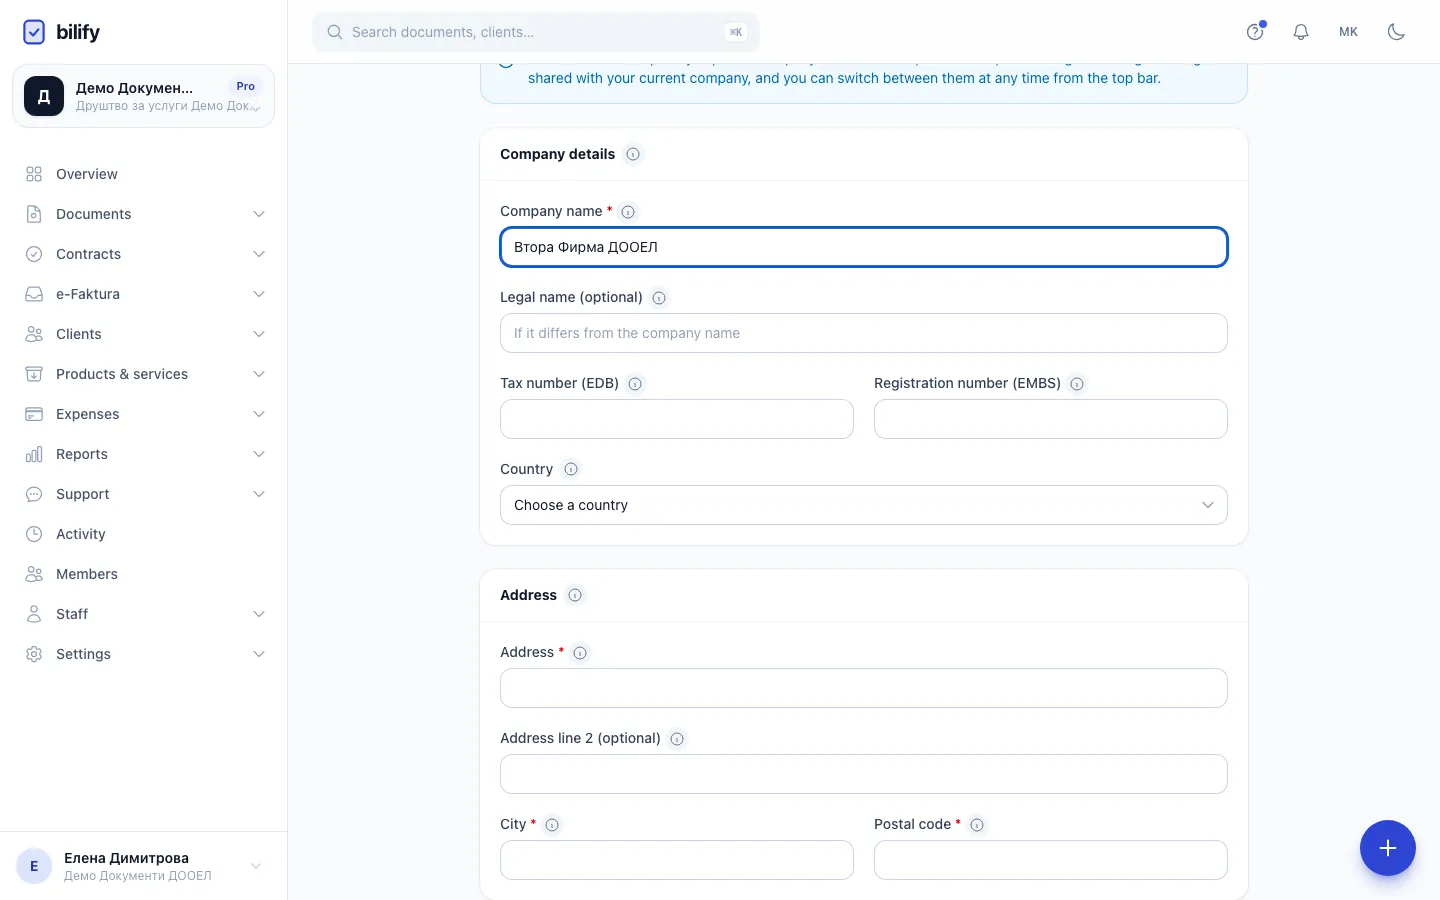
- Step 1: Enter the name of the new company. It gets its own clients, documents, numbering and billing.
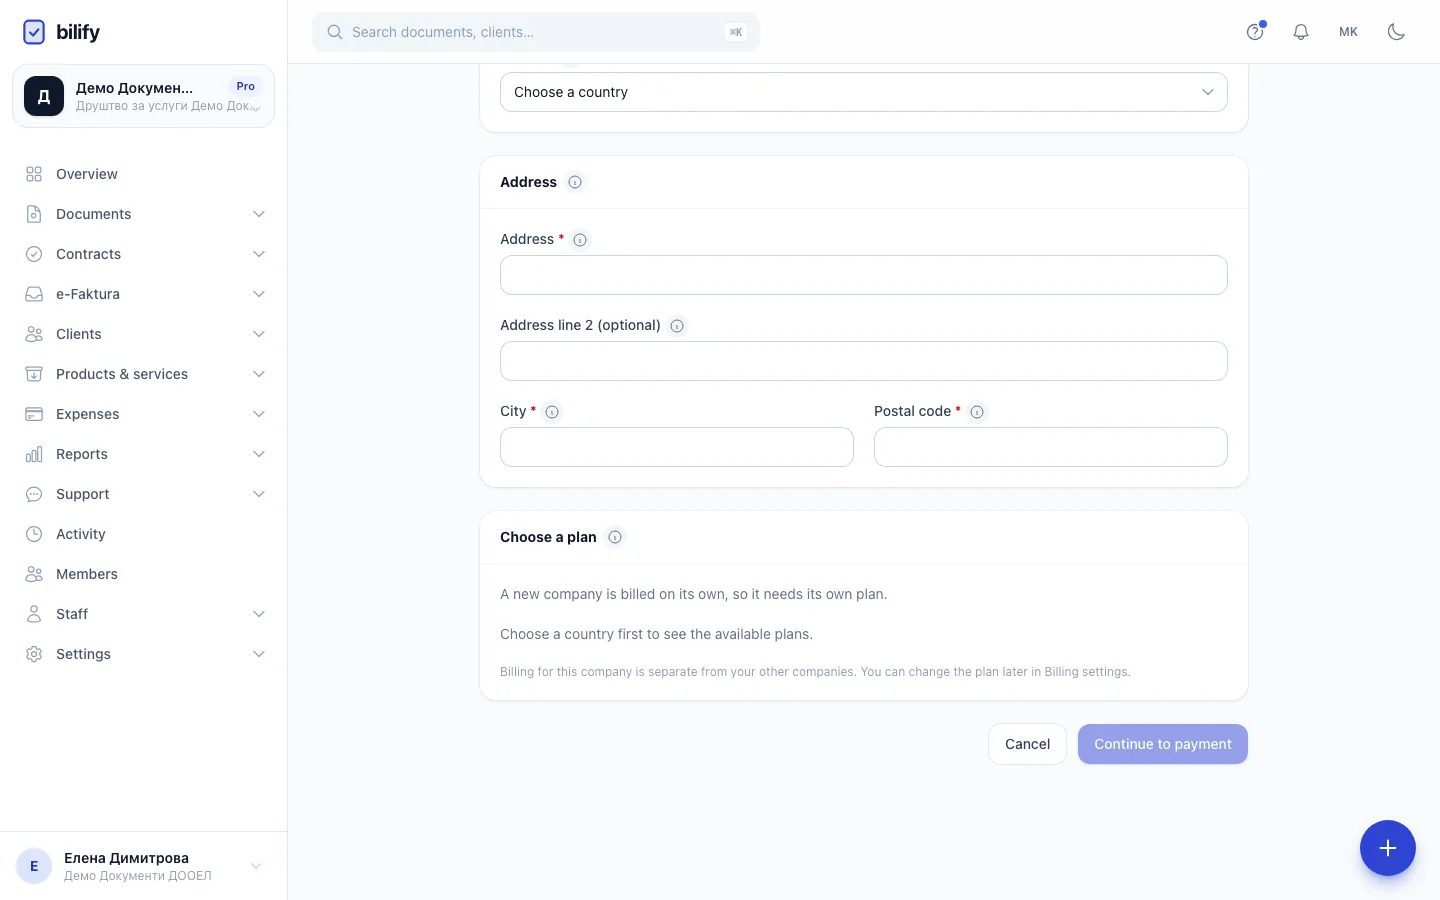
- Step 2: Fill in the address, city and postal code, the same details you gave at sign-up.
- Step 3: Pick a plan for the new company. It is billed separately and does not get a free trial.
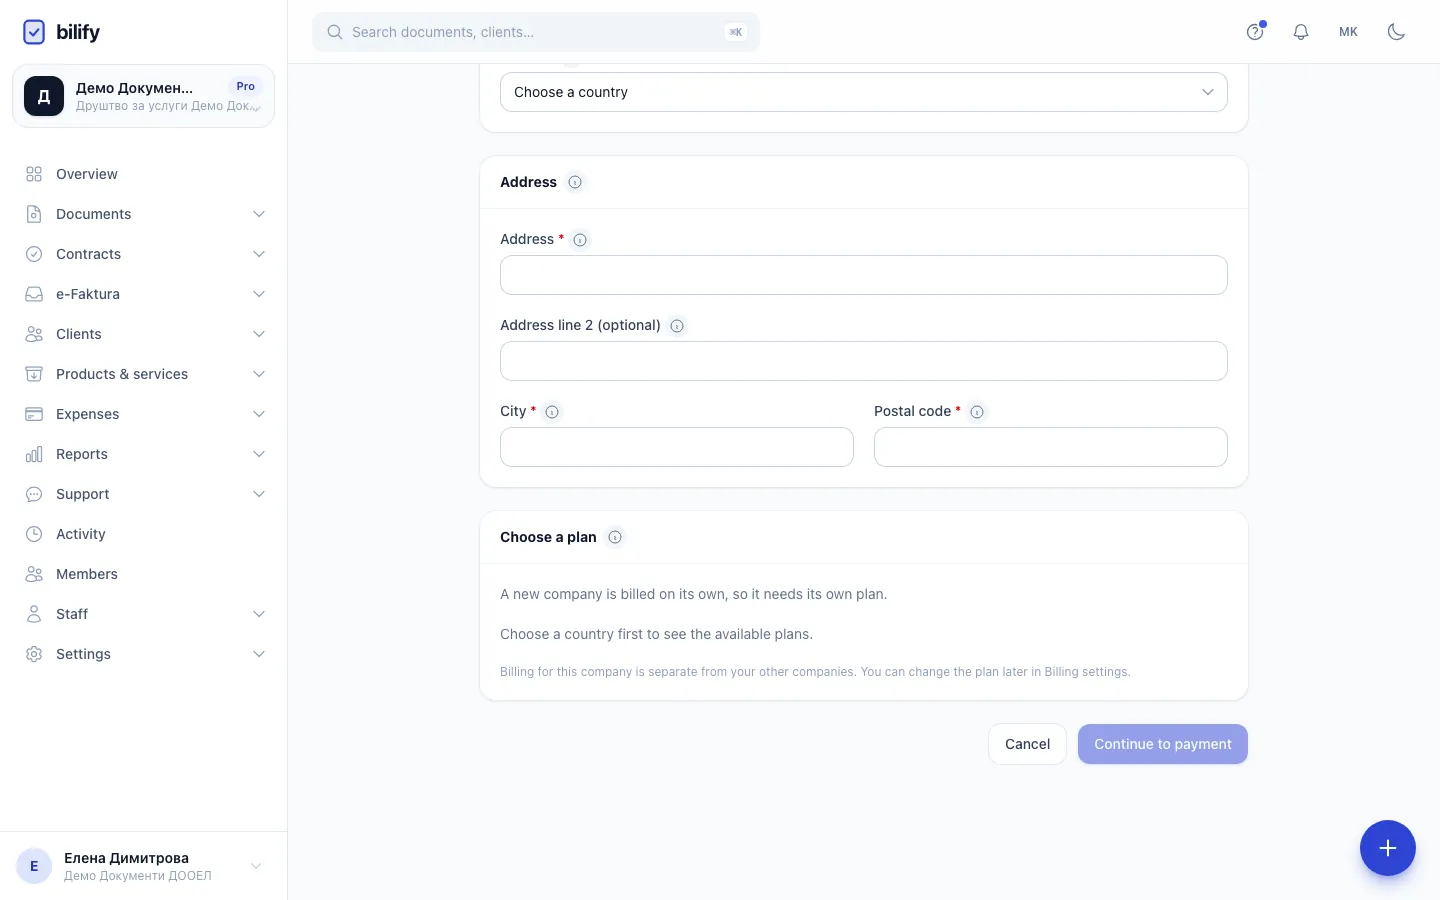
- Step 4: Continue to payment. The company is created after a successful payment and you are switched into it.
- Click the company card under the Bilify logo in the sidebar.
- Click Add a company at the bottom of the list.
- Under Company details, enter the Company name and, if they apply, Legal name (optional), Tax number (EDB) and Registration number (EMBS). The page tells you which country the company will be set up for.
- Under Address, fill in Address, City and Postal code.
- Under Choose a plan, pick Monthly or Yearly and click a plan.
- Click Continue to payment and complete the payment.
When the payment succeeds, the company is created, you become its Owner and Bilify switches you into it. If the payment fails, nothing is created and you can try again.
Every company pays for its own plan
A new company is billed separately from your other companies and does not get a free trial; only the first company you ever created had one. Choose the smallest plan that fits and change it later if needed.
If you leave the payment page
With card checkout, the company is created just before you are sent to the payment page. If you close that page without paying, the company still exists but stays locked behind Choose a plan until its owner picks one.
Switch between companies
- Click the company card under the logo.
- Click the company you want. A tick marks the one you are in.
The page reloads inside the other company. You land on its Overview, or on the first page your role there allows. Your role can be different in each company: you may be Owner in one and Accountant in another.
Good to know
- Members are per company. People you invited to one company do not see the others. Invite them separately where they need access.
- Settings are per company. Set up the company profile, numbering and document types again in each new company.
- Anyone with a login can add a company. It is created under their own account, with them as owner and with its own bill, so no permission in your current company is needed.
- Deleting a company is not available in the app. If you need a company closed, open a support ticket.
Was this page helpful?
Related articles
Still stuck?
Write to us and we will get back to you within one working day.